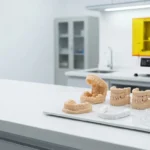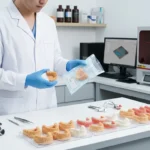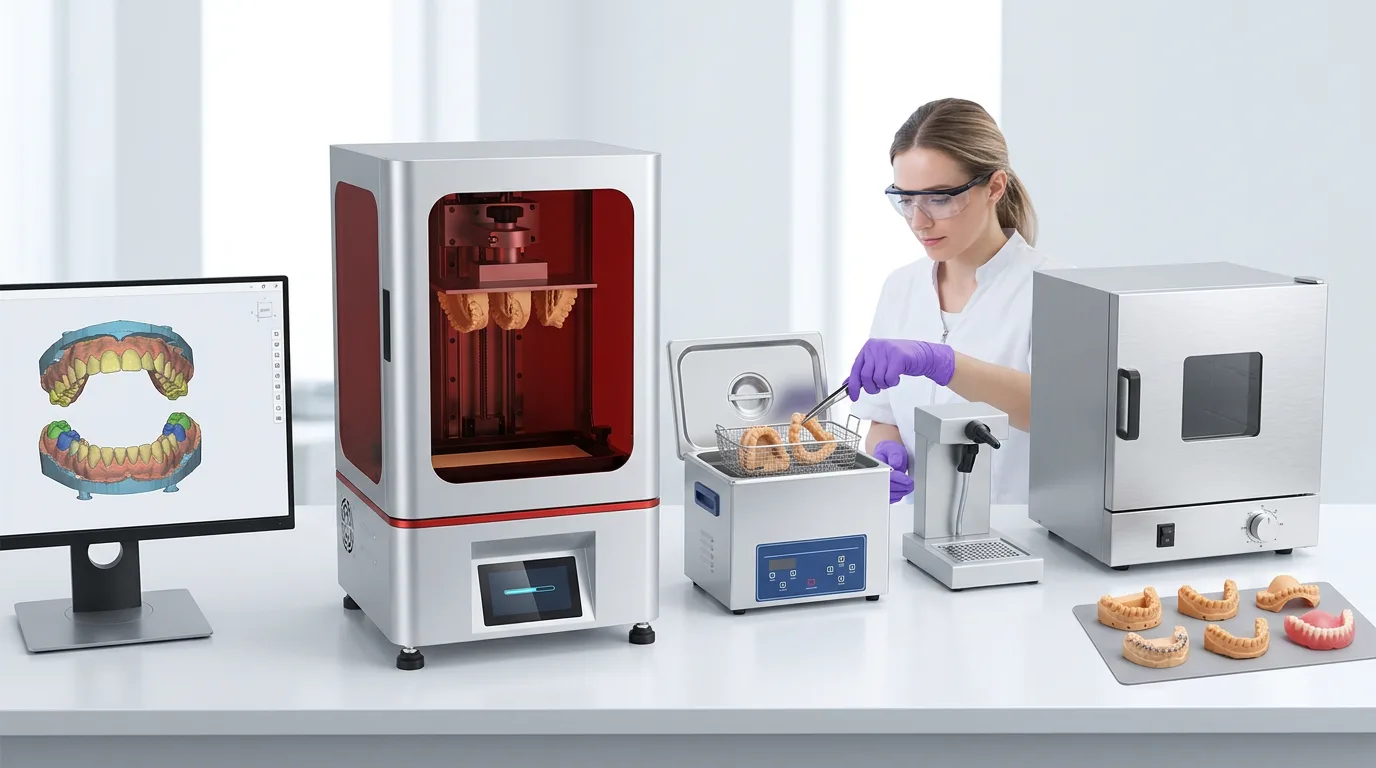
A dental 3D printer converts a prepared digital dental model into a physical object by selectively curing photopolymer resin layer by layer.
That is the basic printing principle, but it is only one part of the process. In a dental laboratory, the final model is the result of a longer digital and manufacturing workflow that starts with scan data and continues through file preparation, printing, washing, complete drying, UV post-curing, finishing, and inspection.
Think of the printer as one stage in a longer digital workflow.
The American Dental Association describes dental 3D printing as part of a process that connects scanning, design, printing, post-processing, and verification rather than as an isolated machine operation.
The workflow starts with a digital dental model
Before any resin is exposed to light, a usable three-dimensional dental file must exist.
For many dental cases, this begins with an intraoral scan. A laboratory may also receive scan data or a dental model that has already been prepared by a clinic or digital design team.
The scan provides the basic geometry, but it is not automatically ready to print. Depending on the application, dental CAD or model-preparation software may be used to trim the model, create a base, repair mesh problems, separate dies, or prepare other required features.
The completed geometry is then exported in STL or another file format supported by the production workflow.
This first stage matters because a printer cannot correct an inaccurate scan or a defective digital model. If the digital file contains missing surfaces, distorted geometry, incorrect scaling, or design errors, those problems can be transferred into the printed object.
The complete Yidimu dental 3D printing workflow therefore begins with file and model preparation rather than with the printer itself.
Slicing converts the 3D model into printable layers
A printer does not directly interpret a dental arch as one solid object.
Slicing software divides the digital model into a sequence of thin cross-sectional layers. It also applies the printing parameters required for the selected printer and resin combination.
Before slicing is finalized, the technician normally has to decide how the model will be positioned on the build platform.
This is called build orientation.
Orientation affects factors such as:
- the number of layers required;
- where supports can be placed;
- how well resin can drain;
- the amount of build-platform space used;
- exposure and separation behavior during printing;
- the accessibility of important surfaces during finishing.
Supports may then be added to hold the model securely during printing.
Support placement is not simply a matter of adding as many supports as possible. Contact points on margins, mating surfaces, fine dental anatomy, or other critical areas can create finishing problems or damage important geometry.
Research on resin dental models has shown that printing orientation can influence dimensional accuracy, while systematic-review evidence indicates that orientation interacts with material, printing technology, layer thickness, support requirements, production time, and other process variables.
How the resin actually becomes solid
Once the build file is ready, the printer begins selectively exposing liquid photopolymer resin to light.
Photopolymer resin contains chemistry that reacts to a defined range of light. Exposure initiates polymerization in the selected areas, turning the liquid material into a solidified layer.
After one layer is formed, the machine changes the relative position of the build platform and resin interface so the next layer can be produced.
The process repeats:
digital layer → selective light exposure → resin solidification → platform movement → next layer.
Thousands of these cross-sections eventually form the complete dental model.
This is where the digital model becomes a physical dental model.
LCD, DLP, and SLA use the same general chemistry differently
LCD, DLP, and SLA dental printers are all commonly associated with vat photopolymerization. They use photosensitive resin and controlled light exposure, but the method used to create each layer is different.
An SLA printer typically uses a controlled laser or scanning light path to trace the geometry that needs to be polymerized.
A DLP printer uses a digital projector system to project the image of a layer onto the resin.
An LCD printer, sometimes described as masked resin printing, uses an LCD panel as an optical mask. Light passes through selected areas of the mask to expose the required geometry.
The differences therefore involve the optical and imaging systems, not the fundamental concept of turning a digital layer into cured photopolymer.
Yidimu’s current dental 3D printer range includes LCD-based resin printing equipment intended for professional dental model workflows.
Why printer resolution is not the same as model accuracy
A common misunderstanding is to look at an 8K, 12K, 14K, pixel-size, or layer-thickness specification and assume it directly describes the dimensional accuracy of the finished dental model.
It does not.
Resolution describes one aspect of how finely the printing system can represent information. Final accuracy concerns how closely the manufactured object corresponds to the intended geometry.
The result can be influenced by the entire process, including:
digital scan quality
→ CAD geometry
→ mesh preparation
→ slicing parameters
→ optical system
→ resin behavior
→ layer thickness
→ orientation
→ supports
→ printer calibration
→ washing
→ drying
→ post-curing
→ finishing.
Published dental research similarly identifies printing technology, materials, orientation, processing parameters, supports, and post-processing among the variables that can affect the dimensional result.
This is why two printers with similar advertised screen resolution do not necessarily produce identical dental models.
Printing finishes, but the model is not finished
When the final layer has been printed, the model is still part of an uncured-resin process.
Liquid or partially uncured resin can remain on its surface and inside recesses. The model therefore needs controlled post-processing before final inspection.
A typical workflow starts by allowing excess resin to drain and carefully removing the build from the machine.
The part is then washed using the cleaning medium and procedure specified for the exact resin.
There is no universal washing liquid or washing time for every dental resin. Water, alcohol, or another cleaning medium should only be used when it is compatible with the material instructions.
The next stage is easy to underestimate: complete drying.
Cleaning liquid can remain around model bases, cavities, support contacts, narrow spaces, and recessed features even when the visible outer surface appears dry. The model should therefore reach the drying condition required by the material procedure before proceeding.
Yidimu’s dental resin washing and curing guide treats washing, drying, support management, curing, and inspection as connected manufacturing stages rather than cosmetic finishing operations.
What UV post-curing does
The light exposure inside the printer creates the object, but many photopolymer workflows require an additional controlled post-curing stage after washing and drying.
The model is placed in a compatible curing device and exposed according to the resin’s documented requirements.
Depending on the specific material system, the controlled variables can include wavelength, exposure duration, temperature, model orientation, chamber loading, and repositioning.
There should not be one universal curing program copied across unrelated dental resins.
Support removal and finishing are then completed according to the validated process. Some material systems specify support removal before post-curing, while others may require removal after or between curing stages, so the correct sequence should come from the resin and equipment instructions rather than from a generic rule.
The final step is inspection
A print that looks complete is not automatically a verified dental model.
The technician may inspect surfaces for incomplete features, distortion, cracks, residual resin, damaged margins, support marks, blocked features, or other defects.
Where dimensional performance matters, critical areas can also be measured or checked for fit according to the laboratory’s defined acceptance criteria.
This final verification is important because the accuracy of a dental 3D printing workflow belongs to the complete manufacturing chain, not to the light source or screen alone.
Dental resin is not one universal material
Dental laboratories also need to distinguish between resins used for models and materials intended for specific patient-contact applications.
A resin that successfully produces a dental arch does not automatically become suitable for a surgical guide, splint, temporary restoration, denture component, or another intraoral device.
Yidimu’s current dental 3D printing resin information separates model-oriented materials from applications that require additional documentation and verification.
For patient-contact applications, laboratories and dental professionals should verify the exact material’s intended use, printer compatibility, processing instructions, current TDS, SDS and IFU, post-curing requirements, and applicable regulatory requirements.
The fact that a printer can physically cure a resin is not evidence that the resulting part is approved for a particular clinical use.
So, how does a dental 3D printer work?
At the machine level, the answer is simple: it converts sliced digital geometry into physical layers by selectively polymerizing photosensitive resin.
At the laboratory level, the answer is broader.
The practical workflow is:
intraoral scan or digital model → CAD/model preparation → compatible 3D file → slicing → orientation and supports → resin exposure → layer-by-layer printing → model removal → washing → complete drying → UV post-curing → support removal and finishing → dimensional or fit inspection.
Each stage hands its result to the next.
That is why successful dental resin printing is better understood as a controlled digital production workflow rather than simply a printer shining UV light onto liquid resin.