Dental 3D Printing Applications
3D Printed Dental Models
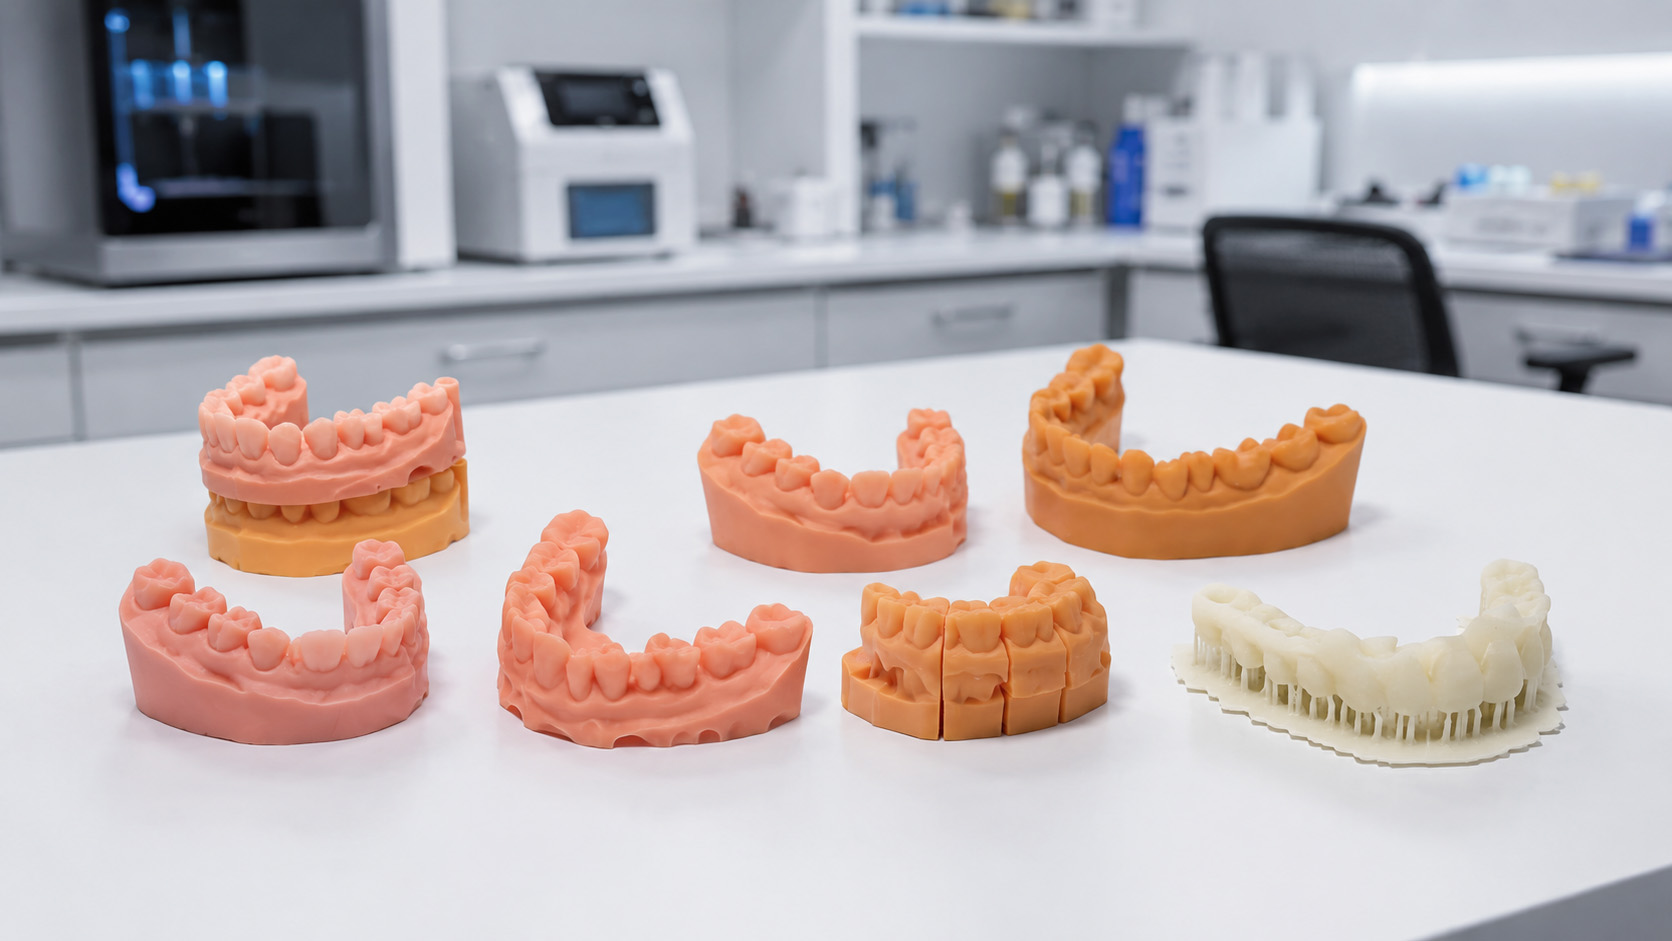
Resin 3D printing can produce physical dental models for laboratory review, restorative workflows, implant-related model work, education, and professional communication. Reliable results depend on coordinated file preparation, equipment, resin, post-processing, and inspection.
Model Applications
Models for professional laboratory workflows
The model type should be defined before selecting the printer, resin, model structure, and finishing process.
Study Models
Physical representations used by qualified professionals for case review, communication, and documentation.
Restorative Working Models
Laboratory models prepared for restoration-related fitting, contact review, and production support.
Implant Models
Models designed to support implant laboratory workflows, component positioning, and model-based inspection.
Teaching Models
Durable visual models for technical instruction, demonstrations, and workflow training.
Specialized Models
Custom professional models developed around documented geometry, material, and inspection requirements.
A printed dental model is a laboratory or professional workflow object. The model itself does not perform a diagnosis, provide treatment, or automatically qualify as a finished dental device for direct intraoral use.
File and Model Design
Prepare the model around its required function
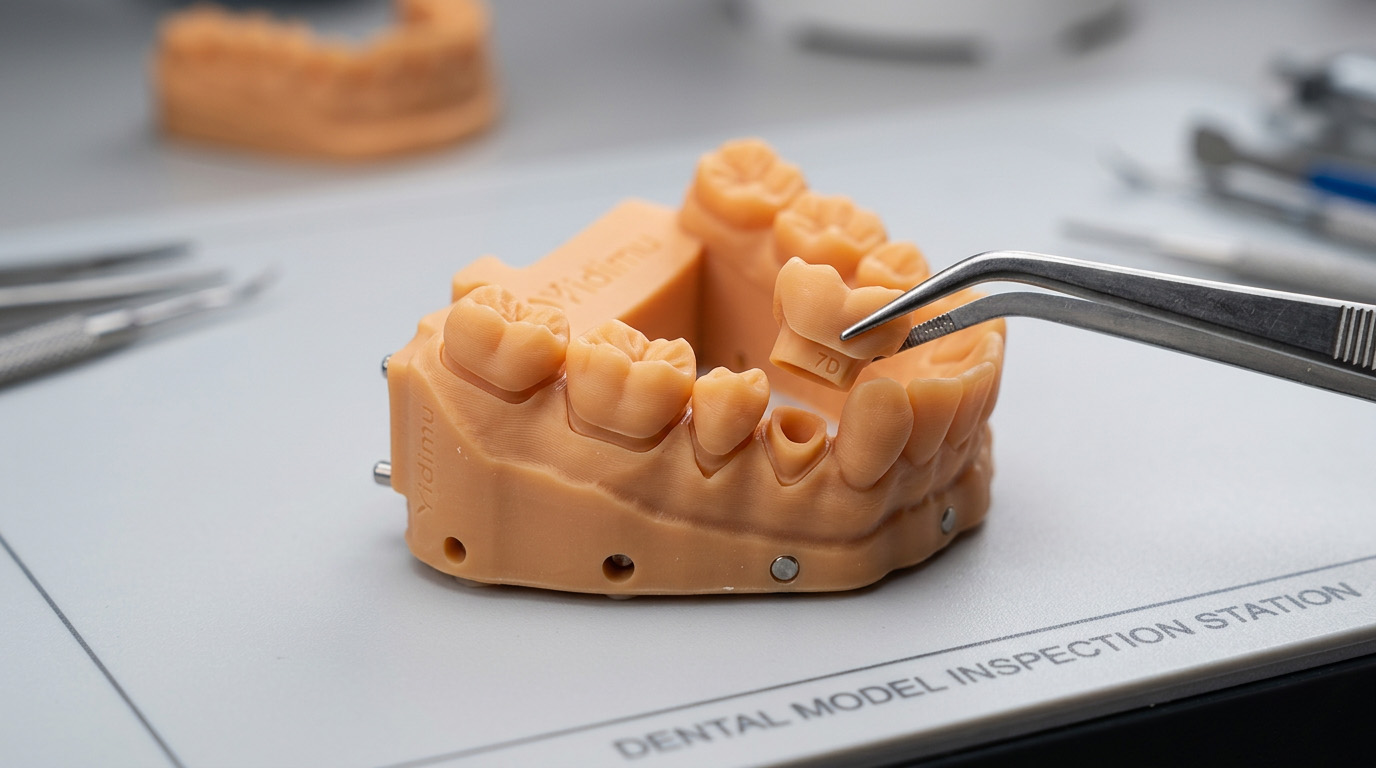
Review the digital file for incomplete surfaces, unsupported features, incorrect bases, thin walls, removable sections, component openings, and other geometry that could affect printing or inspection.
Orientation, support placement, hollowing, drainage, base design, and labeling should be selected for the specific model rather than applied as one universal setup.
Production Workflow
From digital file to inspected model
Review the file
Confirm geometry, dimensions, model base, removable parts, openings, and the intended laboratory task.
Select equipment
Compare the required model size, build capacity, compatible resin system, workflow, and production needs.
Choose the resin
Match color, surface visibility, handling, cleaning, curing, and model requirements to formal product data.
Prepare the build
Set orientation, supports, placement, and slicing conditions for the selected printer and resin.
Print the model
Prepare the machine and resin according to the relevant operating instructions and verified workflow.
Clean and dry
Remove residual uncured resin using the documented cleaning method, then allow the model to dry completely.
Post-cure
Use curing conditions specified for the particular resin, model geometry, equipment, and intended use.
Inspect the result
Check dimensions, surfaces, fit areas, removable sections, distortion, damage, and remaining residue.
Equipment and Materials
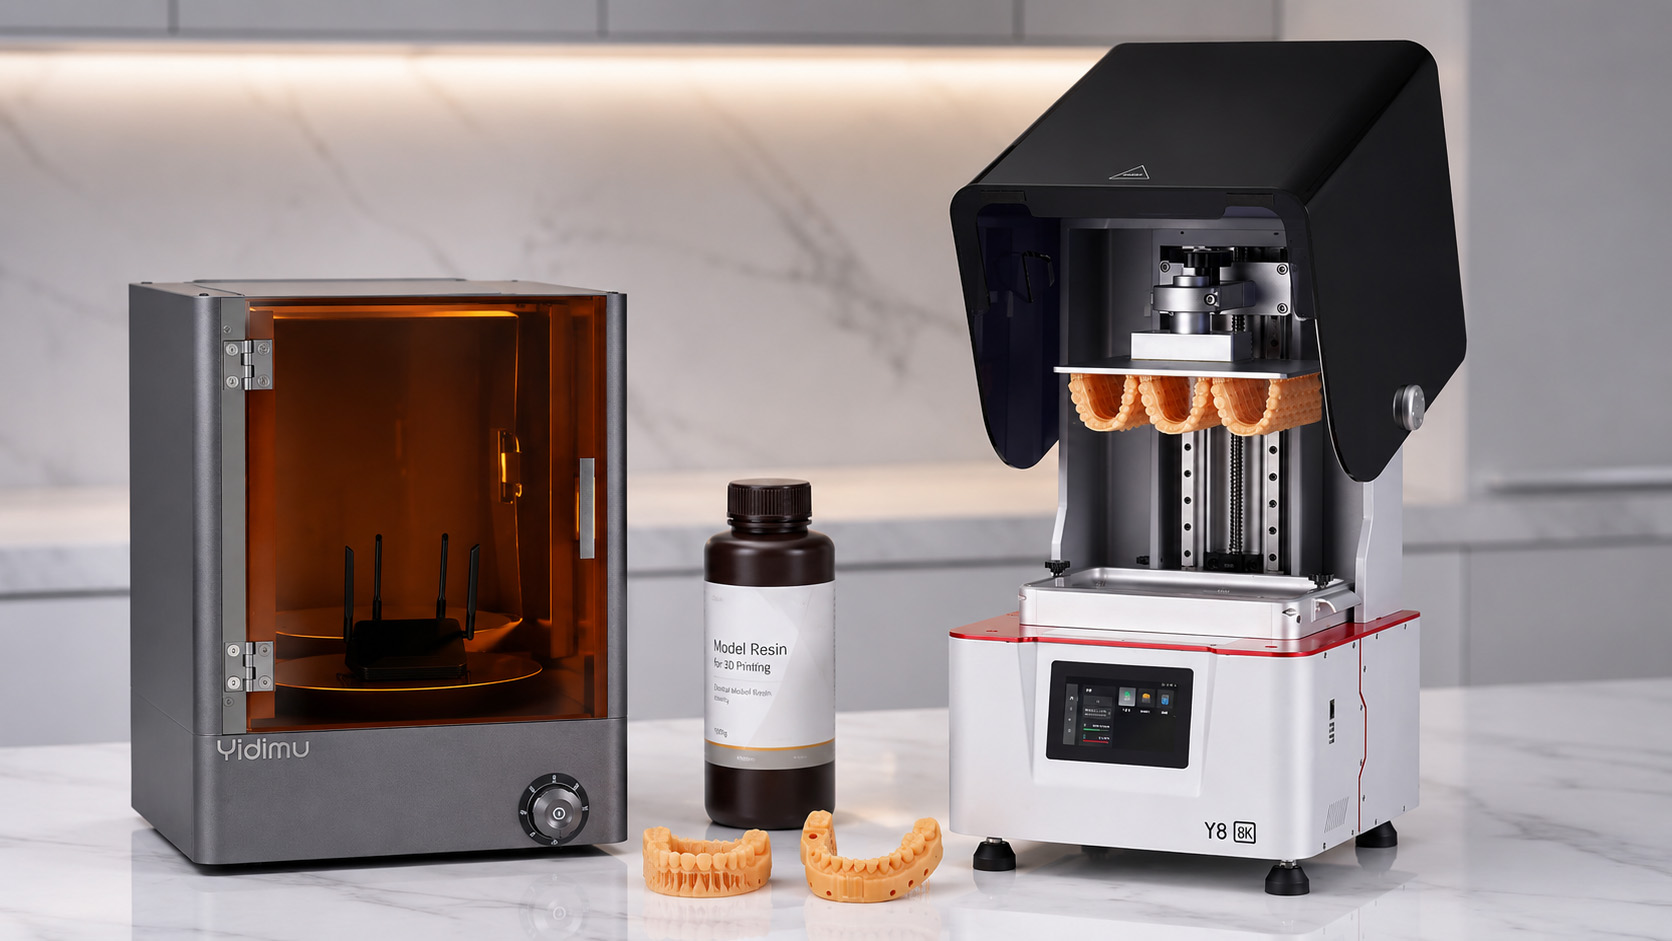
Evaluate the complete printing system
Printer selection should not be separated from resin compatibility, cleaning, UV post-curing, model size, inspection requirements, and the expected laboratory workload.
Frequently Asked Questions
Questions about printed dental models
Which dental models can be evaluated for resin printing?
Study models, restorative working models, implant workflow models, teaching models, and other professional laboratory models may be evaluated. Suitability depends on the file, dimensions, model structure, equipment, resin documentation, post-processing, and required use.
Is there one printing setting for every dental model?
No. Exposure, layer settings, orientation, supports, cleaning, and curing can vary with the printer, resin, model size, wall thickness, color, geometry, and workflow requirements.
How should dimensional results be checked?
Define the critical dimensions before printing, use suitable inspection tools, and compare the finished model with the approved digital file or reference requirements. The inspection method should match the laboratory task.
Does a printed model qualify for direct intraoral use?
Not automatically. A working or study model should not be confused with a finished intraoral dental device. Any clinical use must be confirmed by qualified dental professionals using the applicable TDS, SDS, IFU, equipment compatibility information, post-processing requirements, and local regulations.
What information should be sent for model evaluation?
Provide the model file, overall dimensions, model type, required quantity, critical features, preferred color, surface expectations, inspection needs, and intended laboratory workflow.
Send your dental model requirements
Share the model type, file, dimensions, quantity, critical features, material requirements, surface expectations, and post-processing needs. Yidimu can review the project information for printer, resin, and workflow evaluation.