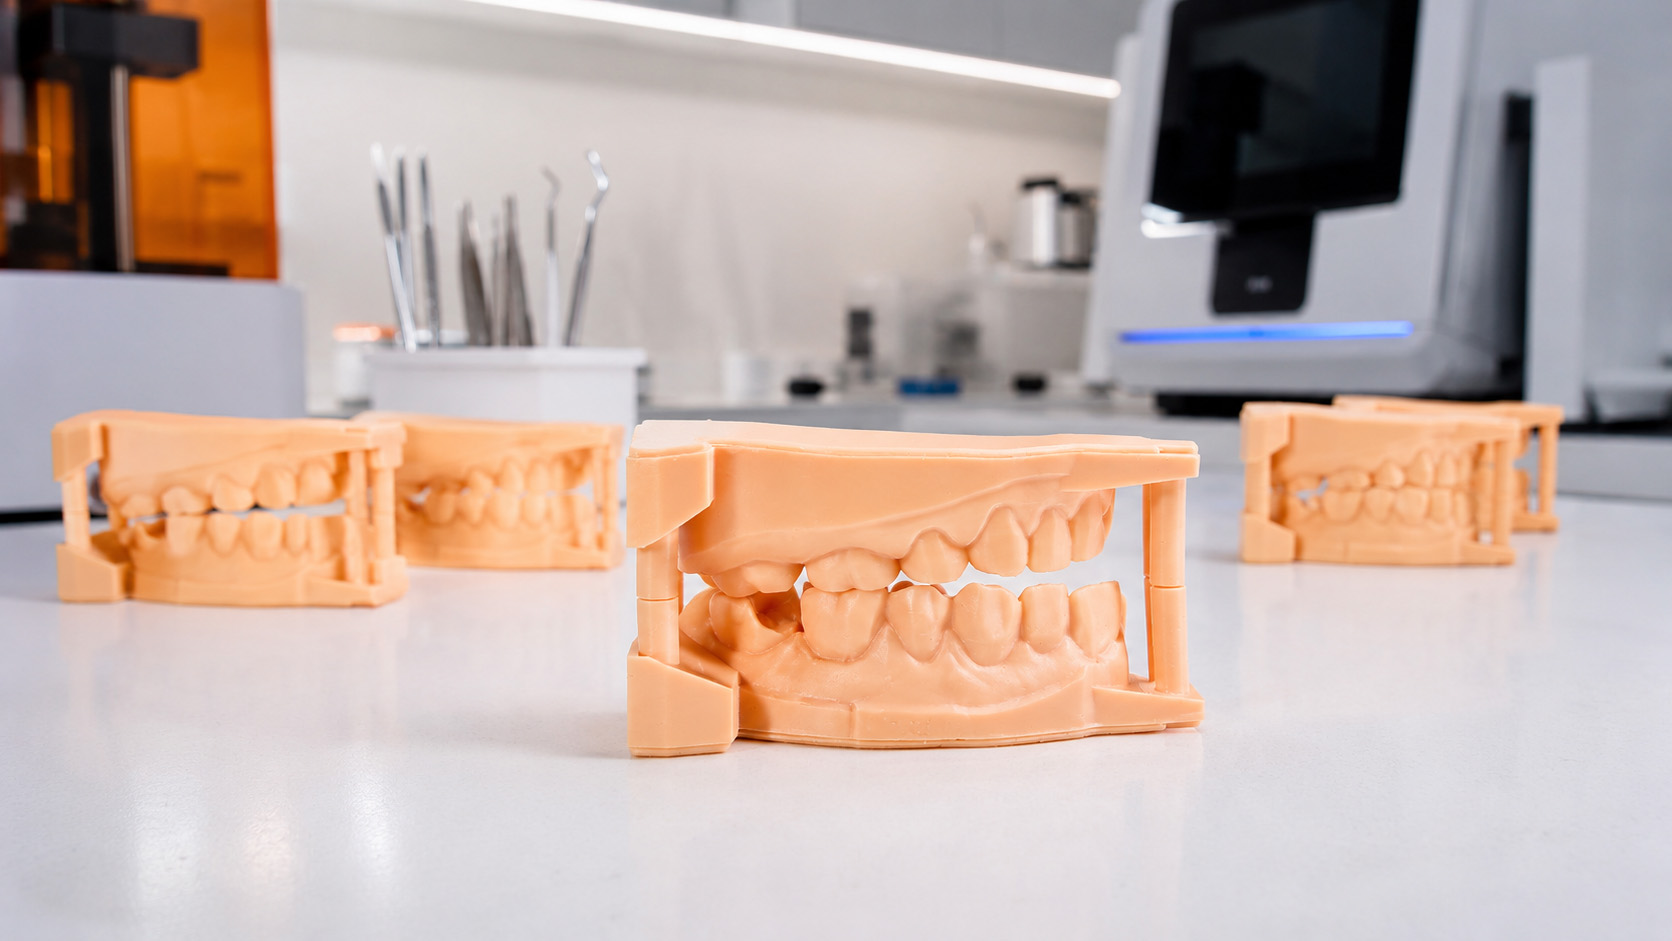
3D Printed Orthodontic Models
A practical workflow for preparing digital files, arranging orthodontic models, selecting compatible equipment and resin, completing post-processing, and inspecting the finished working model.
This page discusses physical orthodontic working models used in professional laboratory workflows. It does not promote the direct printing of final clear aligners or other intraoral appliances.
Built around professional model production
The equipment and material combination should be evaluated against the laboratory’s files, model dimensions, inspection method, and documented application requirements.
Orthodontic Laboratories
For teams producing digital arch models, setup models, study models, and other process-support models.
Digital Dental Teams
For professionals evaluating how scan data, CAD preparation, printing, and post-processing connect within one workflow.
Equipment and Material Buyers
For procurement and engineering teams comparing build capacity, resin compatibility, sample quality, and post-processing needs.
From digital file to inspected model
Actual settings and acceptance criteria must be established for the selected printer, resin, model design, and professional application.
Prepare the File
Confirm the file is complete, correctly scaled, properly based, and free from unintended openings or damaged geometry.
Arrange the Models
Select an orientation and platform layout that suit the arch shape, base design, support strategy, and inspection surfaces.
Match Printer and Resin
Check build dimensions, light-source compatibility, resin documentation, workflow controls, and post-processing equipment.
Print the Model
Use verified settings for the selected machine and resin rather than applying parameters copied from an unrelated system.
Wash and Dry
Remove uncured surface resin using the method specified in the material documentation, then allow the model to dry fully.
Post-Cure
Position the model in compatible UV curing equipment and follow the resin supplier’s documented curing conditions.
Finish the Surface
Remove supports and correct noncritical contact areas without altering dental anatomy or required reference geometry.
Inspect the Model
Check completeness, surface condition, base stability, critical dimensions, labels, and conformity with the source file.
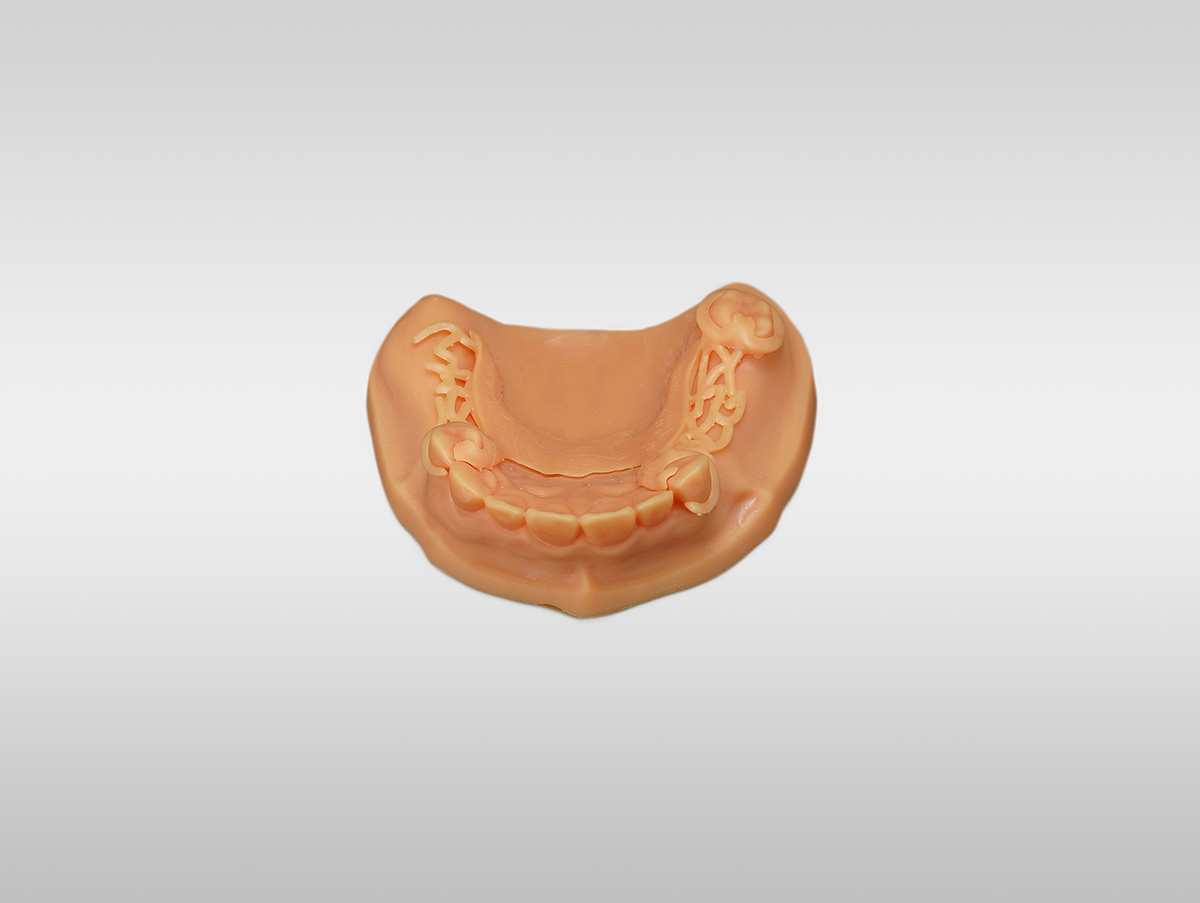
Evaluate the complete production system
A printer specification alone does not define the finished model. File preparation, resin behavior, washing, drying, curing, handling, and inspection all influence the result.
Dental Resin 3D Printer
Compare usable build area, model arrangement, light-source system, resin compatibility, calibration requirements, and technical support.
Dental Model Resin
Select a documented model resin that matches the printer and the required surface, color, handling, and dimensional inspection needs.
Washing and UV Curing
Cleaning and post-curing conditions depend on the resin, part geometry, wall thickness, color, equipment, and intended workflow. There is no universal time suitable for every material.
Check the sample before approving a workflow
Sample evaluation should use the customer’s representative file and clearly defined acceptance method. A display sample alone may not reveal whether the full workflow meets a laboratory’s requirements.
Submit an Orthodontic Model for Evaluation
Send the model file, overall dimensions, base design, expected quantity, preferred material or color, inspection method, surface requirements, and intended use as a working model. Sample evaluation is a technical workflow assessment, not clinical validation.
Orthodontic model printing FAQ
Does this page cover directly printed final aligners?
No. This page focuses on resin-printed orthodontic working models. It does not claim that Yidimu printers or model resins are approved for directly printing final clear aligners or other intraoral devices.
Which file information should be checked before printing?
Check file integrity, scale, units, model identification, arch completeness, base geometry, wall condition, and any surfaces that must remain free from support contact.
Which resin should be used for orthodontic working models?
Use a documented dental model resin that is compatible with the selected printer and appropriate for the intended working-model process. Confirm the application through the current TDS, SDS, IFU, equipment documentation, and professional workflow requirements.
How long should a model be washed and UV cured?
There is no single washing or curing time for all models. The correct process depends on the resin, part size, wall thickness, color, washing method, curing equipment, and application requirements. Follow the material and equipment documentation.
Can Yidimu review a sample before equipment selection?
Yidimu can discuss sample evaluation based on the submitted file, model size, material requirements, quantity, surface expectations, inspection method, and proposed production workflow.
Yidimu supplies 3D printing equipment, resin materials, and post-processing equipment; it is not a hospital, dental clinic, or treatment provider. This page provides general technical information and does not provide diagnosis or treatment advice. Material suitability and final use must be confirmed from the applicable TDS, SDS, IFU, compatible equipment, documented post-processing requirements, and local regulations. A dentist, dental technician, or other qualified professional is responsible for confirming any specific clinical use.