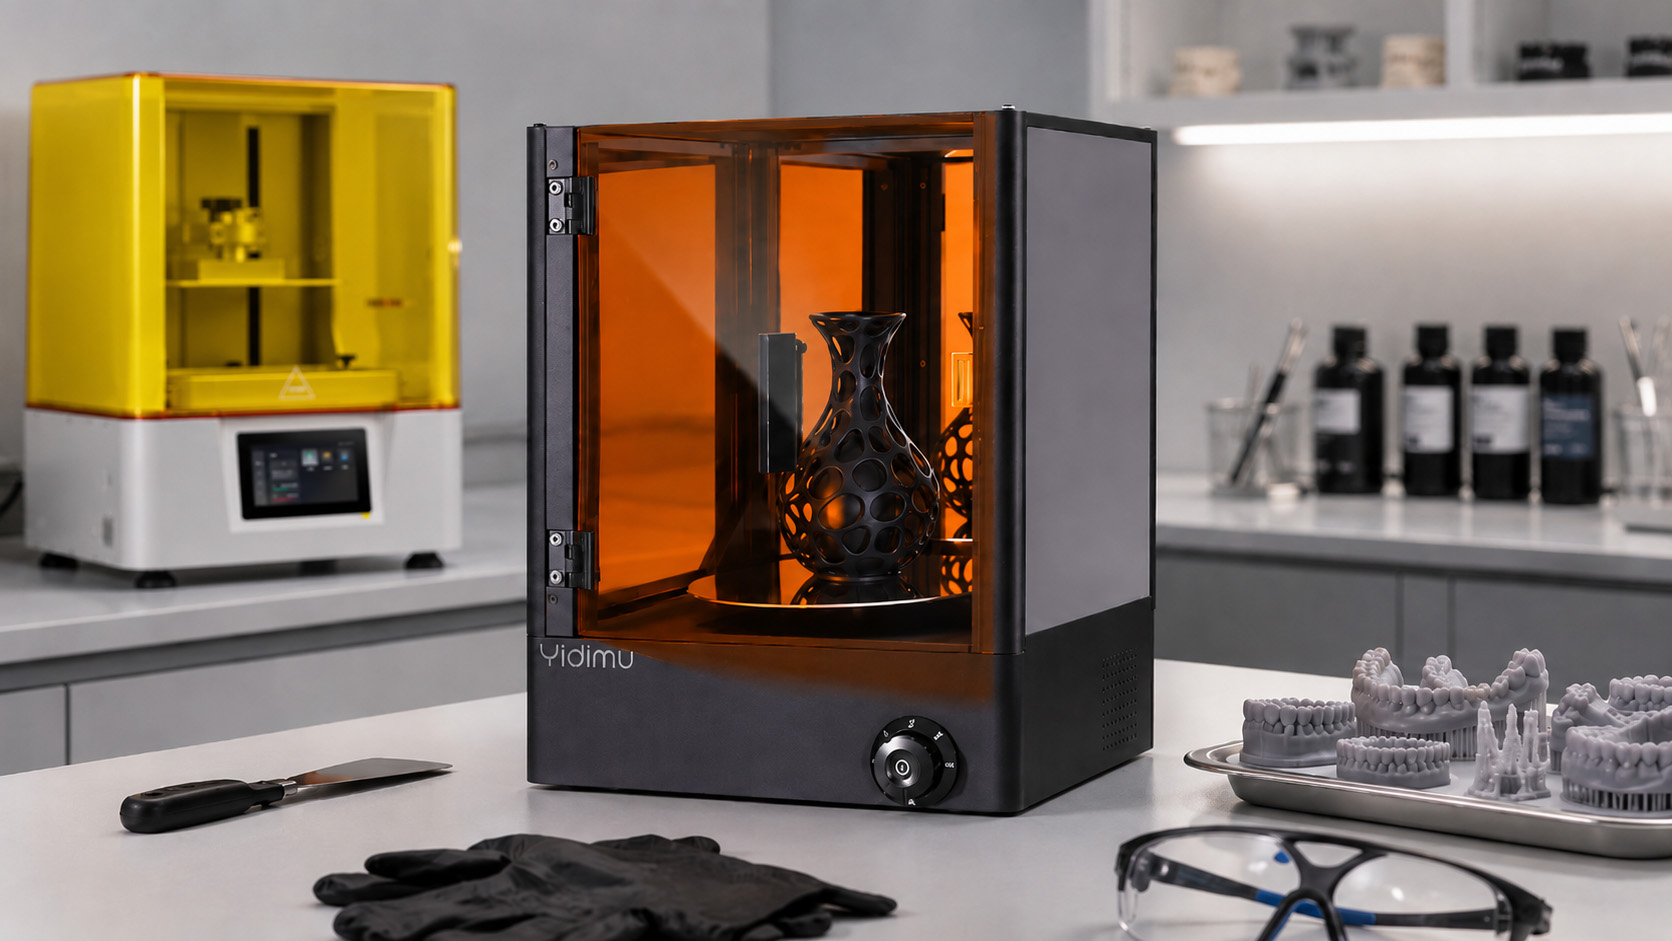
Dental UV Curing Equipment
Controlled UV post-curing for resin-printed dental models and professional laboratory parts after washing and drying.
A controlled final step after resin printing
A resin part is not necessarily ready for evaluation when it leaves the printer. After the specified washing and drying process, UV post-curing helps the part reach the condition and properties defined by the resin manufacturer.
The equipment, light wavelength, exposure procedure and part placement must match the resin documentation and intended workflow.
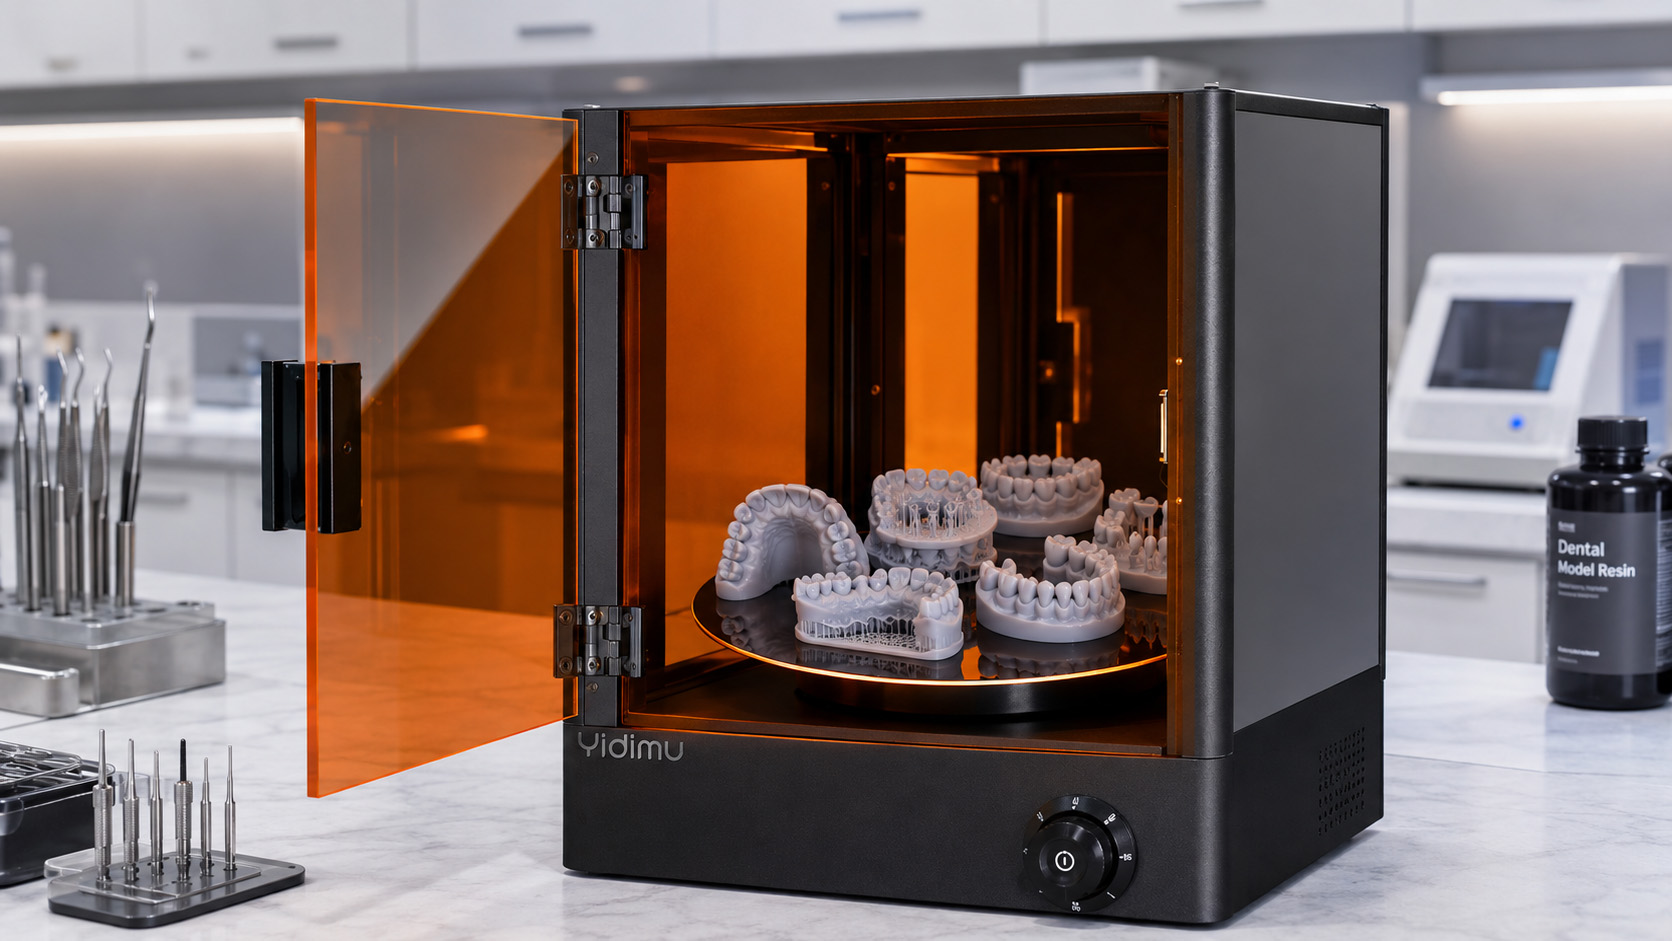
Four points to review before selecting a curing unit
Internal space
Confirm that the chamber accommodates the largest part or production batch without stacking or blocking light.
Wavelength matching
Use a light source that matches the resin manufacturer’s documented post-curing requirements.
Light distribution
Review lamp placement, reflective surfaces and platform movement when evaluating exposure coverage.
Part placement
Leave space between parts and orient critical surfaces so adjacent models do not create deep shadows.
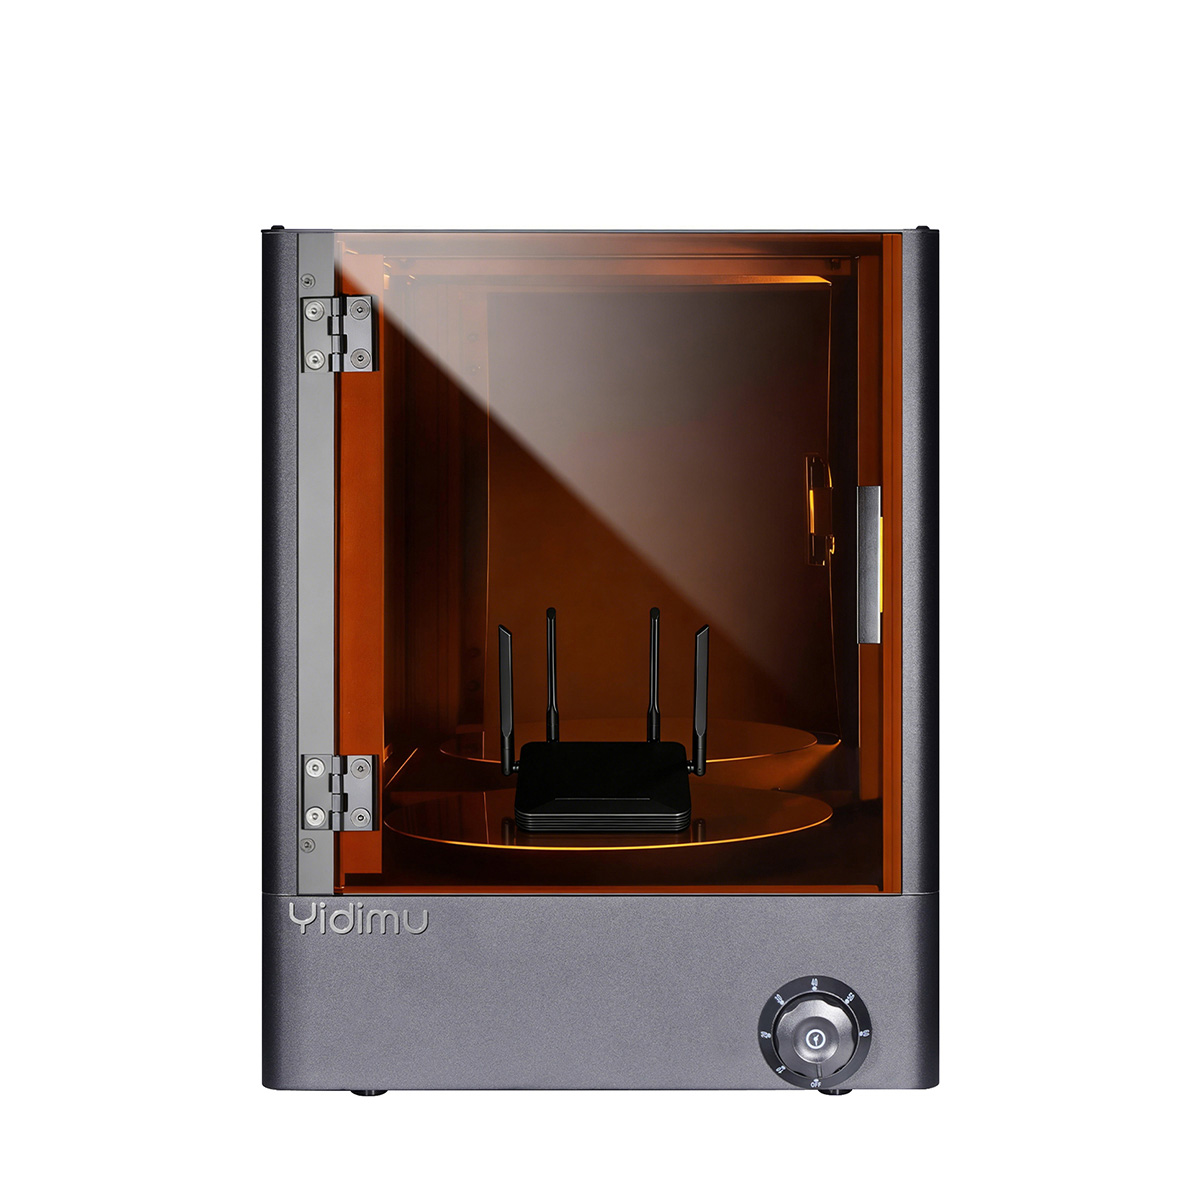
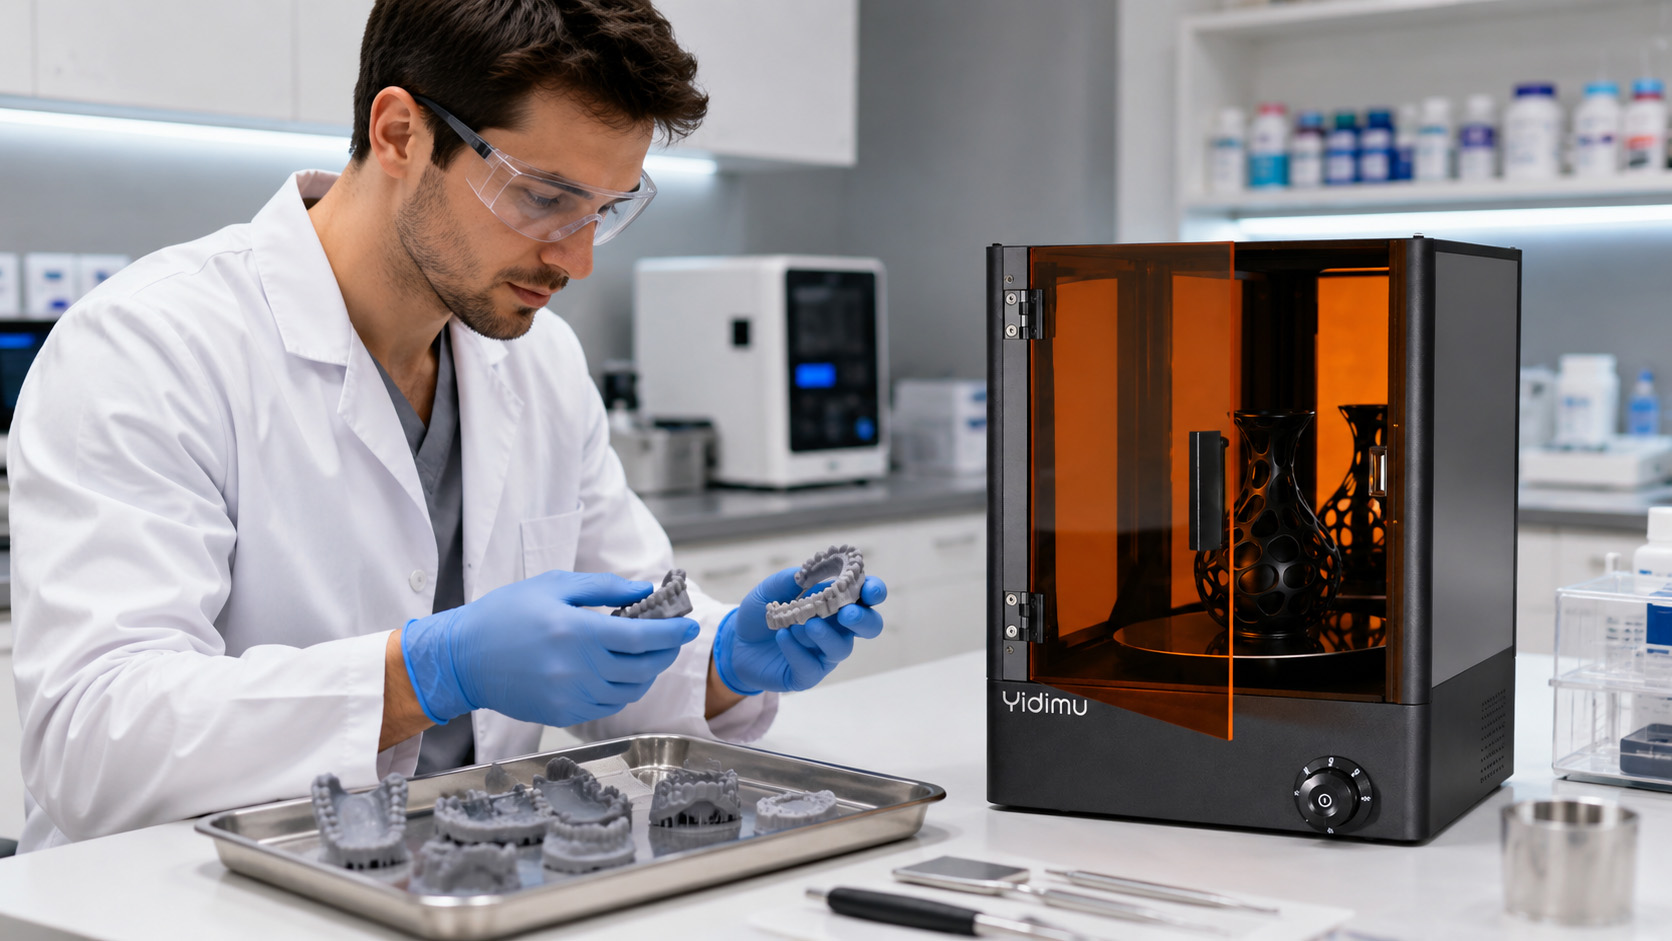
Yidimu YDM-UV-350 UV Curing Box
A dedicated post-curing unit for light-cured resin printed models. Its enclosed chamber, reflective interior and rotating platform are designed to distribute UV exposure around parts during the selected curing cycle.
- Equipment model
- YDM-UV-350
- Listed light source
- 405 nm LED
- Curing space
- 330 × 330 × 300 mm
- Turntable diameter
- 250 mm
- Timer control range
- 0–60 minutes
From printed part to final inspection
The order and details of each step must follow the material and equipment instructions for the selected workflow.
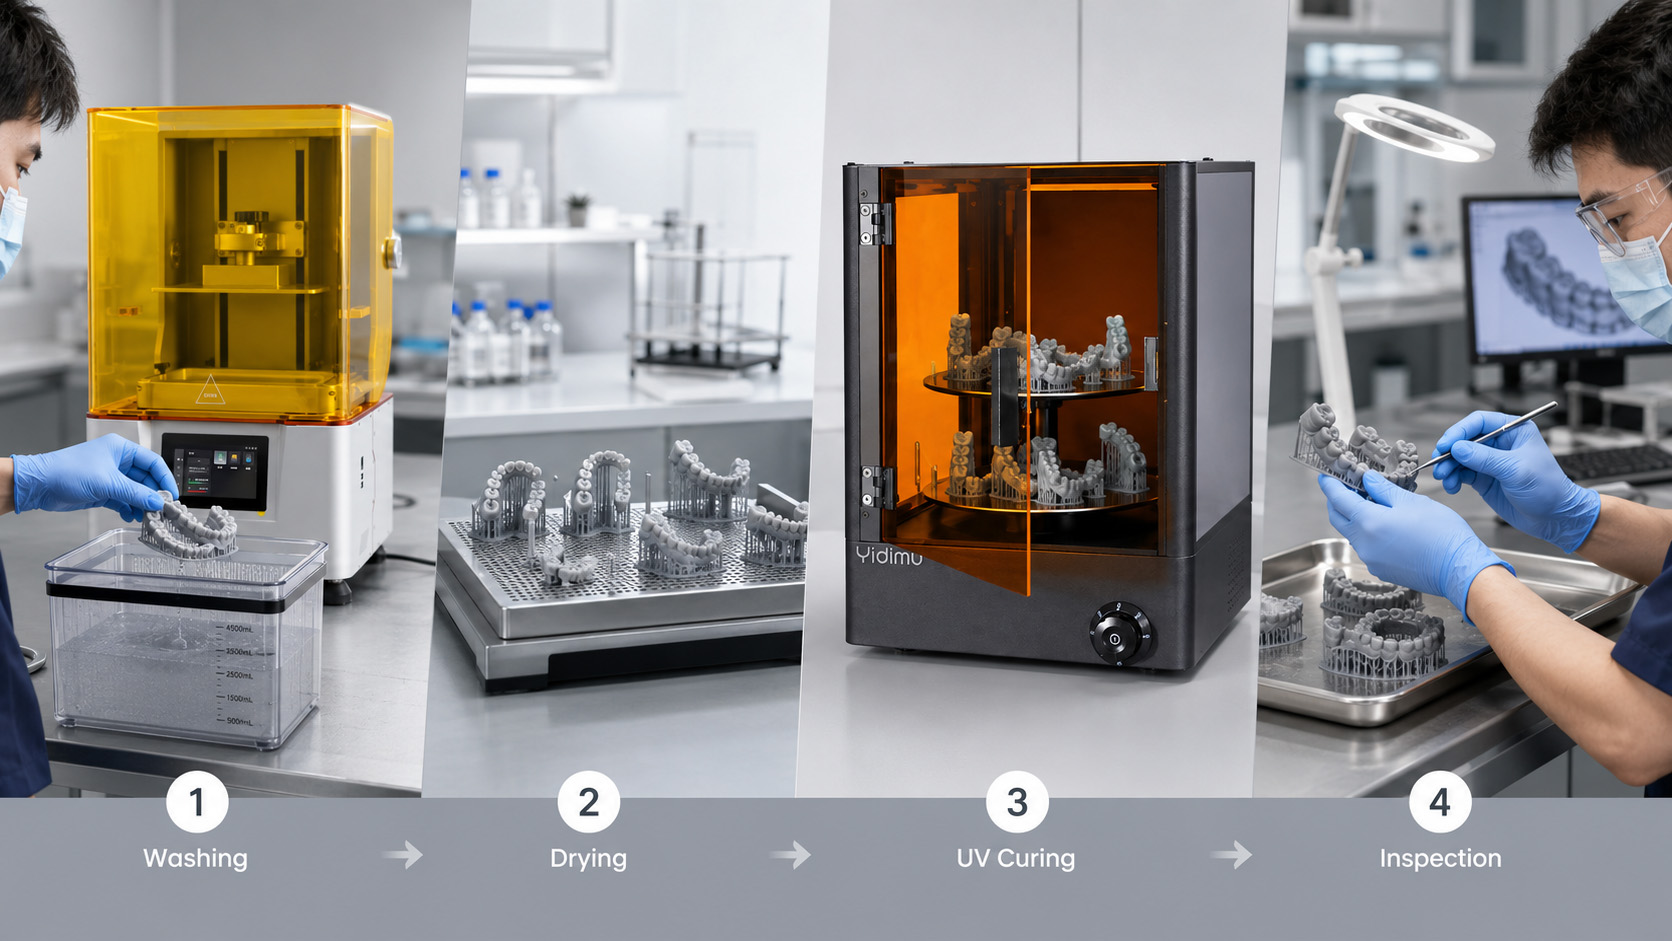
Wash
Remove uncured surface resin using the documented cleaning method.
Dry
Allow the part to dry fully before beginning the curing cycle.
Arrange
Place parts with adequate spacing and avoid overlapping surfaces.
Post-cure
Apply the wavelength and curing procedure specified for the resin.
Inspect
Check the surface, geometry and required application criteria.
Control resin contact and UV exposure
- Wear suitable gloves and eye protection when handling uncured resin or recently washed parts.
- Keep the curing chamber closed during normal equipment operation.
- Do not place parts containing pooled resin or residual cleaning liquid into the curing chamber.
- Follow the resin SDS for ventilation, storage, spill response and waste disposal.
- Inspect the chamber and rotating platform before each production batch.
Dental UV curing equipment FAQ
What does UV post-curing do?
It continues the light-curing process after printing and washing so the part can reach the condition specified by the resin manufacturer. The final result depends on the complete validated workflow rather than the curing unit alone.
How long should a dental resin part be cured?
There is no single time for all materials. The required duration depends on the resin, color, geometry, dimensions, wall thickness, curing equipment and intended application. Use the resin TDS and IFU rather than a general online recommendation.
Can every dental resin be cured at 405 nm?
No. A resin’s printing wavelength does not automatically confirm its complete post-curing procedure. Check the material documents for the required curing wavelength and compatible equipment.
Can parts be stacked inside the curing chamber?
Stacking can block light and produce uneven exposure. Arrange parts with sufficient space and reposition them only when required by the documented process.
Does post-curing make any resin suitable for intraoral use?
No. Post-curing does not change a general model resin into an approved patient-contacting material. Intraoral use requires a specifically documented resin, compatible printer and curing workflow, applicable regulatory status and confirmation by a qualified dental professional.
Review your printer, resin and curing requirements together
Send Yidimu the resin name, printed-part dimensions, intended application, expected batch quantity and available post-processing documents. The team can review equipment compatibility without assigning unsupported curing parameters or material uses.