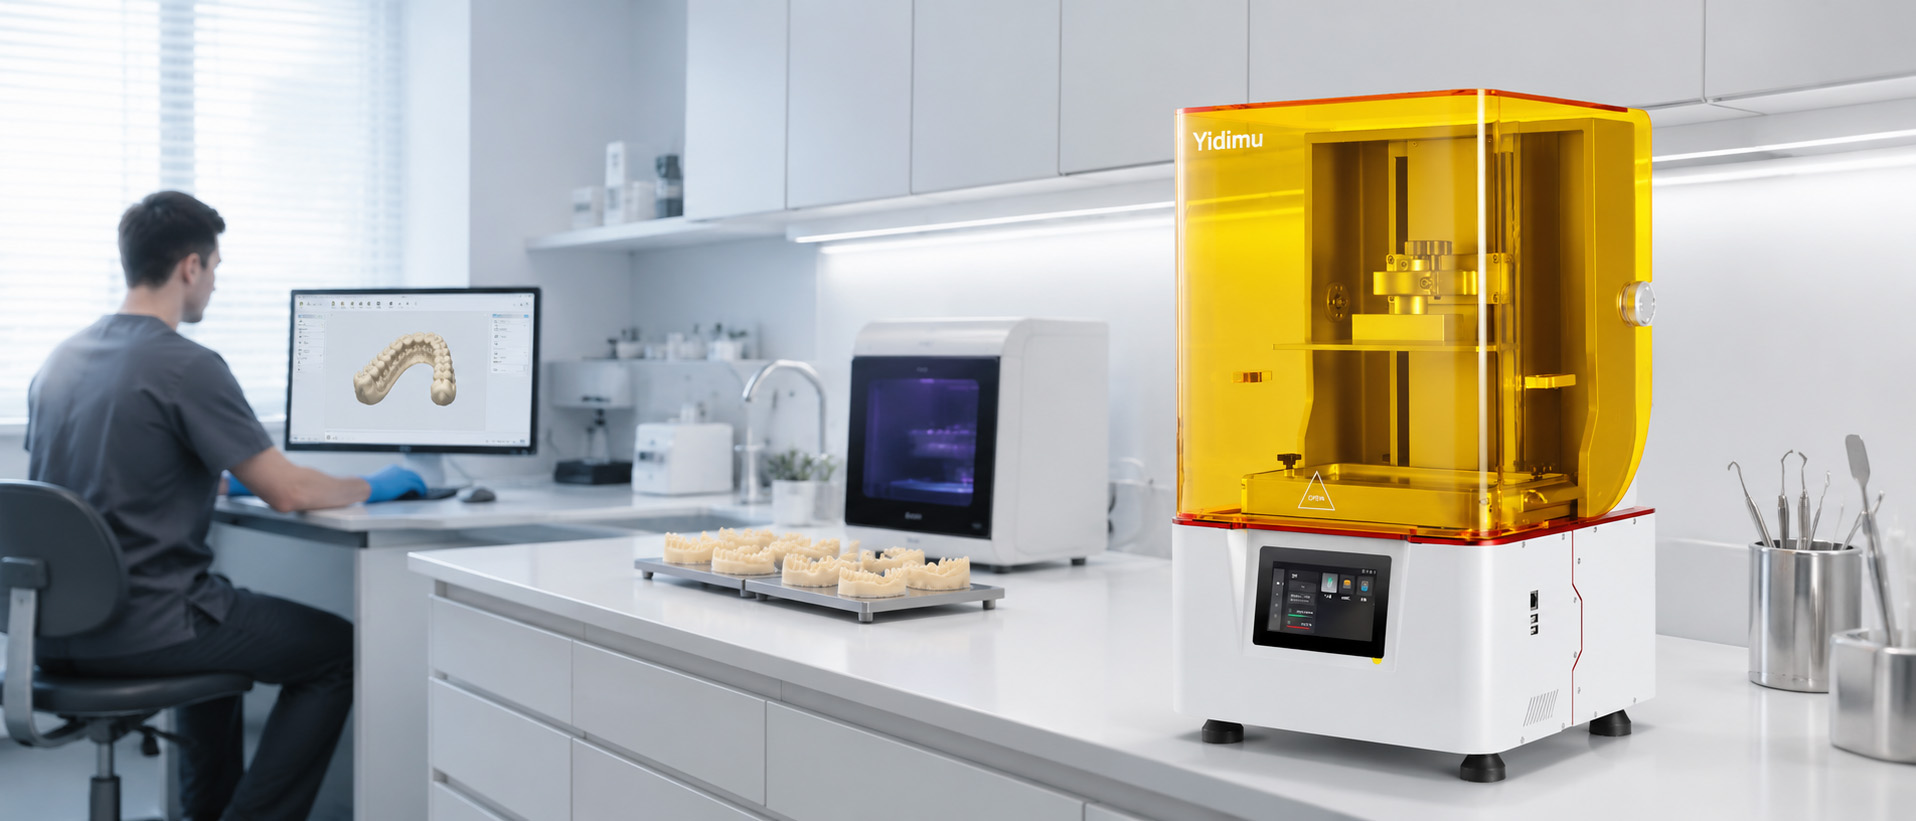
Dental 3D Printing Workflow
A controlled resin printing process connects digital model preparation, printer setup, material handling, washing, UV post-curing and dimensional inspection. Each stage must be matched to the selected printer, resin, application and documented processing instructions.
The printer is only one part of the result.
A dental resin print begins long before the build platform moves. The quality of the source scan, CAD design, exported mesh, orientation, supports and slicing profile can affect fit, surface condition and repeatability. Washing, drying and post-curing can also change the final result when they are not performed consistently.
The workflow below provides a practical structure for dental laboratories, digital dental teams, engineers and production managers. It does not assign one exposure time, wash duration or curing program to every material. Those values must come from the applicable printer documentation, resin TDS, SDS, IFU, validated profile and local requirements.
Four connected phases, one documented production chain.
A stable workflow controls the handoff between digital preparation, printing, post-processing and final verification.
Digital Preparation
Review the source model, complete dental CAD work, repair the mesh and identify critical surfaces before slicing.
Print Preparation
Select the material, orient the part, design supports, prepare the printer and release the approved build file.
Post-Processing
Remove the build, wash away uncured resin, dry the part, manage supports and complete the validated UV curing process.
Verification
Inspect the surface, measure critical features, record the production data and release or reject the result.
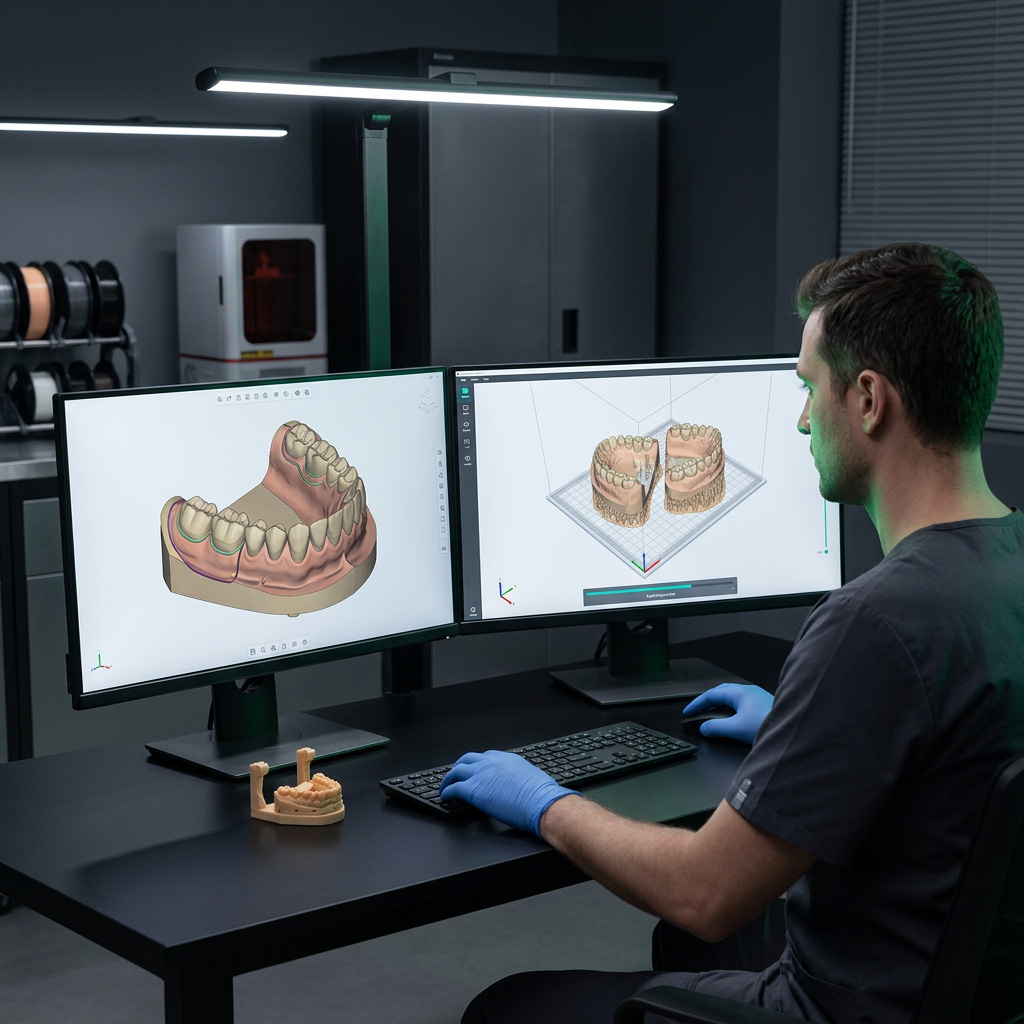
Prepare the file before preparing the printer.
Digital errors can be reproduced accurately by the printer. The file should therefore be reviewed against the work order and intended application before it enters the production queue.
Confirm the digital model
Verify the correct case, arch, model version and source data. Check whether the file is complete and whether the scan or design contains missing anatomy, duplicated surfaces or unintended artifacts.
Perform the file integrity check
Inspect the mesh for holes, non-manifold geometry, inverted normals, disconnected shells, intersecting surfaces and unrealistic wall thickness. Repairing a mesh should not unintentionally change critical dental geometry.
Complete dental CAD preparation
Finish the design operations required by the application, such as trimming the model, adding a base, separating removable dies, labeling the case or preparing drainage and access features. A qualified professional remains responsible for the design and intended use.
Select the build orientation
Balance support access, critical surface protection, layer area, drainage, build height and production capacity. Do not assume that one angle is suitable for every model, resin or printer.
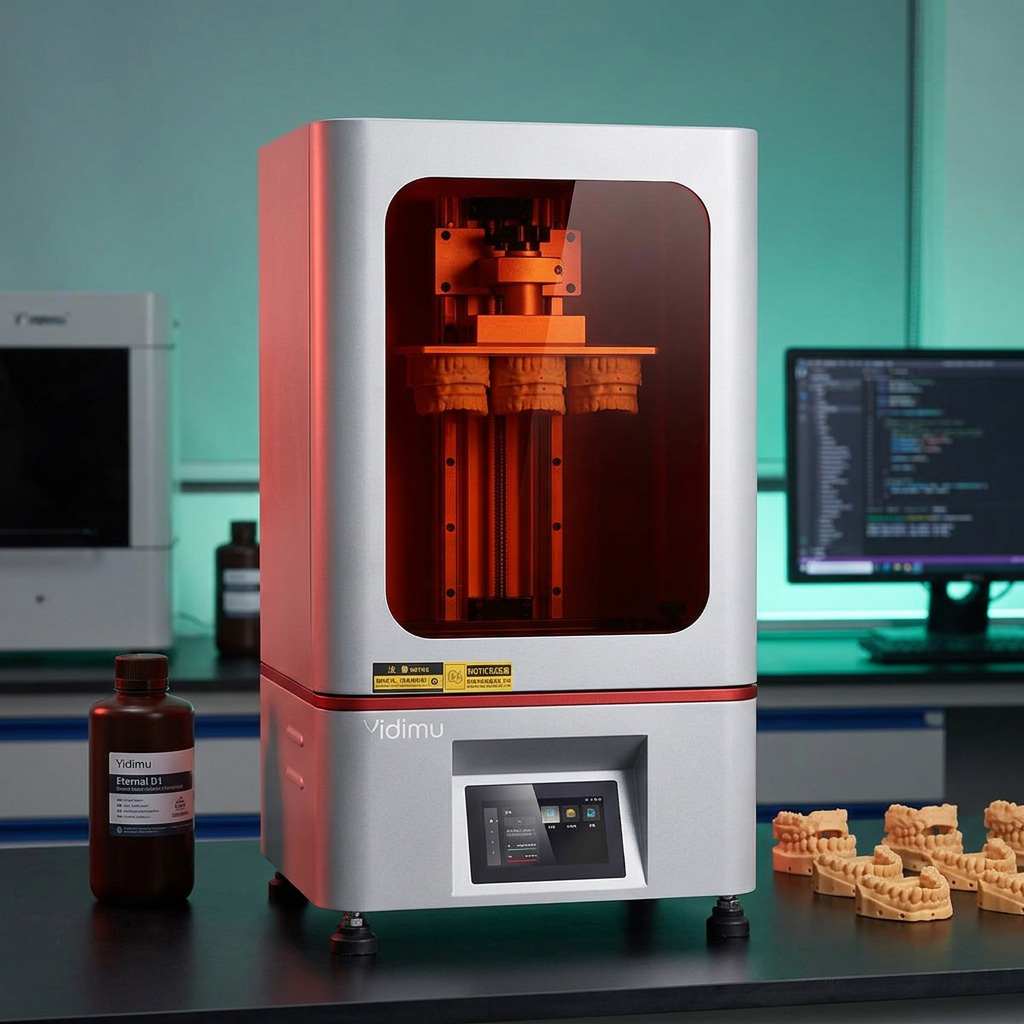
Printer, resin, slicing profile, washing method and post-curing equipment should be evaluated as one production system.
Convert the approved design into a controlled build.
Production preparation should connect the approved digital file with the correct resin, printer, build platform and validated slicing profile.
Design and review supports
Place supports where they can stabilize the build without damaging critical surfaces or preventing complete cleaning. Review support density, contact points, drainage paths and areas that may trap liquid resin.
Select the material by intended use
Match the resin to the specific model or device category, printer wavelength, validated equipment combination and post-processing instructions. Review the current TDS, SDS and IFU before production.
Prepare the printer and build area
Confirm that the vat, film, build platform and optical path are clean and serviceable. Check the material identity, batch information, condition, storage history and any mixing requirements stated by the manufacturer.
Slice, verify and start the print
Use the approved profile for the selected printer and resin. Review the final layer preview, estimated resin requirement, support structure, part identification and build placement before releasing the job.
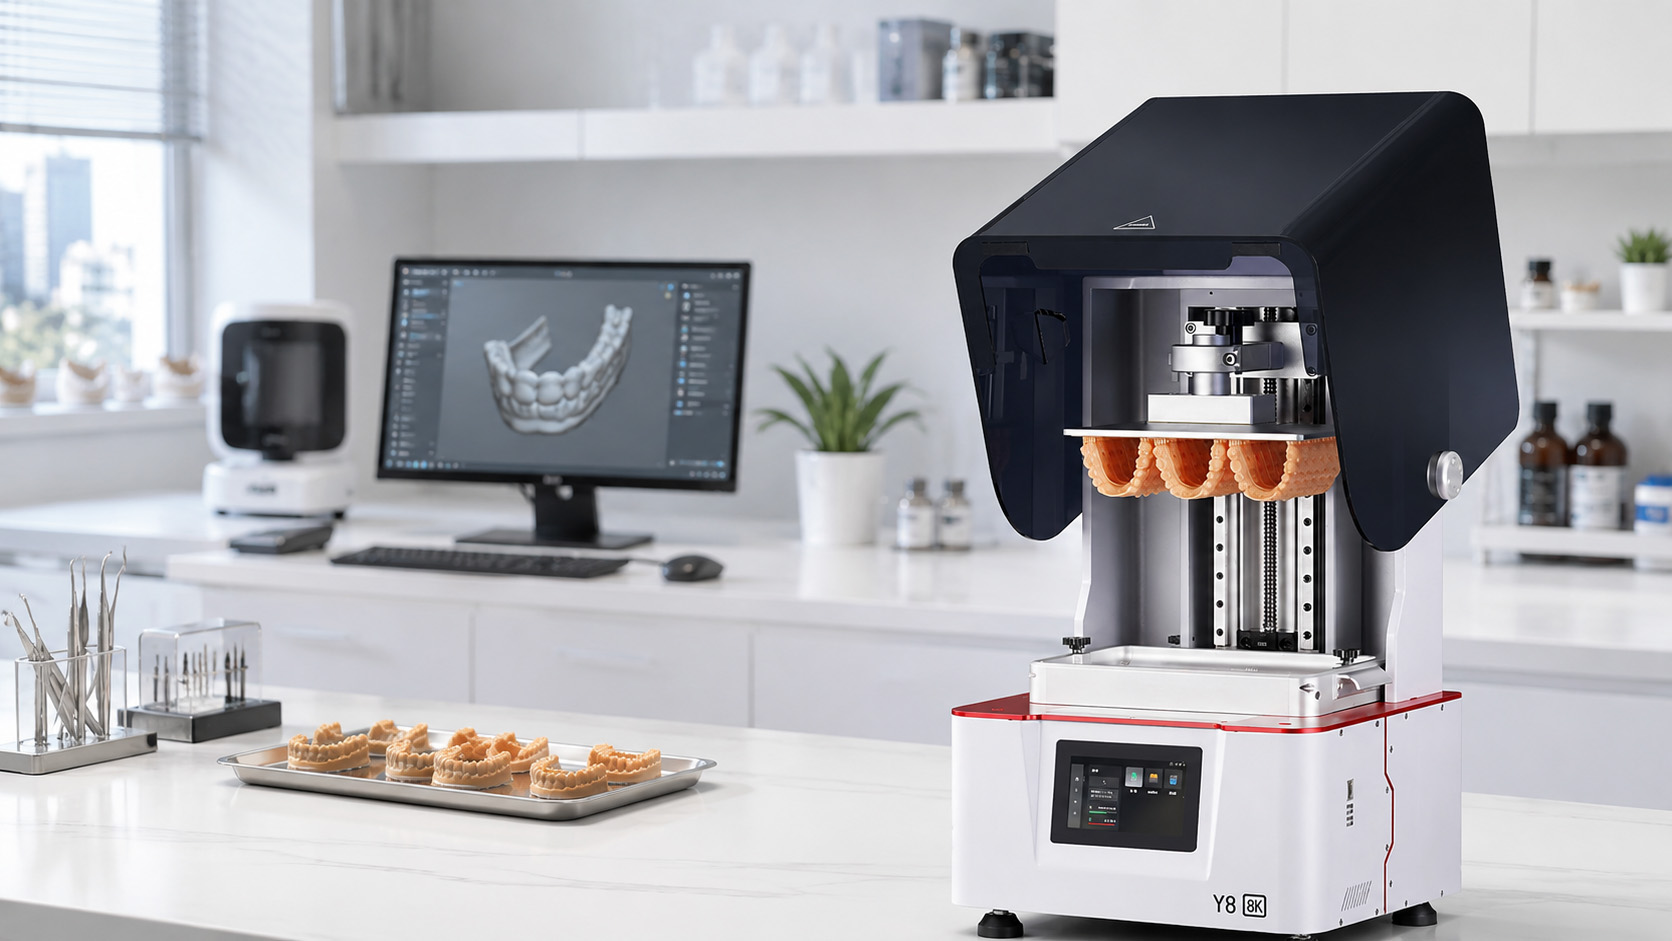
Cleaning liquid, wash method, drying condition, curing wavelength, temperature and duration depend on the selected material and documented process.
Handle the printed part as uncured resin until the process is complete.
Printed surfaces may retain liquid resin after the build finishes. Controlled removal, cleaning, drying, support management and post-curing are required before final inspection.
Remove the completed build
Allow excess resin to drain according to the documented process. Use appropriate tools and handling controls to remove the build without deforming the part or damaging the printer.
Wash away residual resin
Use the cleaning liquid and method specified for the selected resin. Control solution condition, agitation and bath sequence where applicable. Excessive washing can be as problematic as incomplete washing.
Dry and inspect before curing
Confirm that cleaning liquid has evaporated from external surfaces, cavities and internal features. Residual liquid or uncured resin may interfere with the curing result and surface inspection.
Remove supports in the validated sequence
Support removal may occur before, during or after a curing stage, depending on the material, geometry and documented workflow. Protect margins, contact surfaces and thin features during removal.
Complete UV post-curing
Match the curing unit, wavelength, exposure program, temperature, part orientation and any required atmosphere to the resin instructions. Do not create a universal curing program for unrelated materials.
Finish the surface without changing critical geometry
Remove support marks and production artifacts only where permitted. Avoid uncontrolled grinding or polishing on margins, mating surfaces, guide features or other dimensions that affect the intended result.
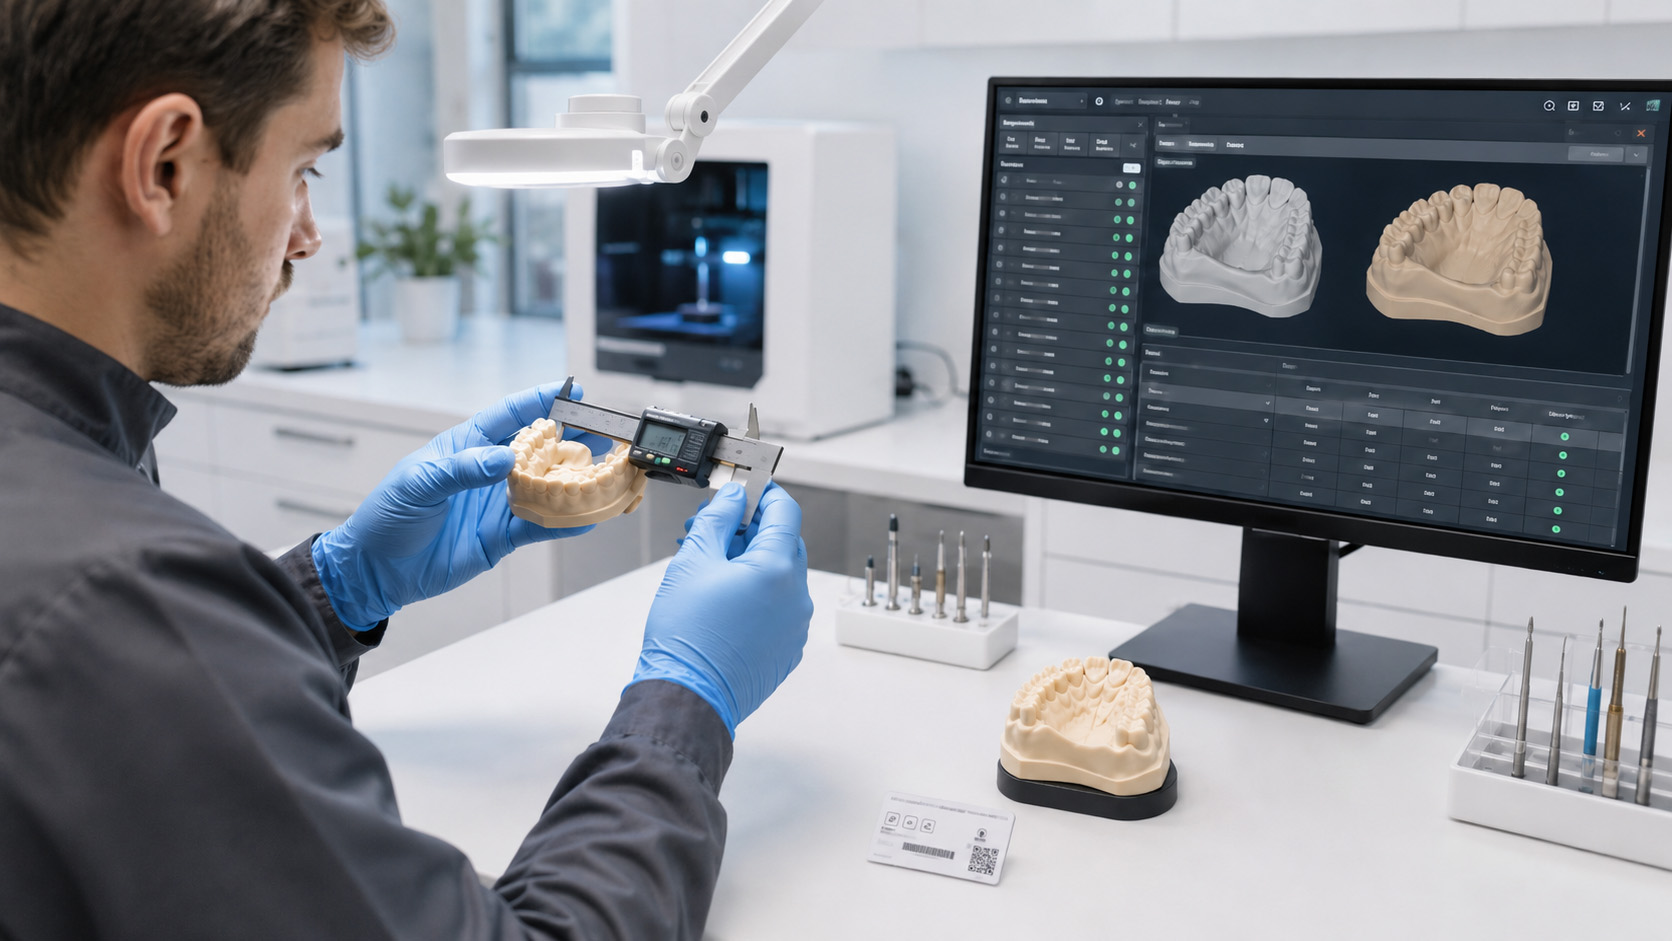
Inspect the result and preserve the production history.
A repeatable dental 3D printing workflow records enough information to investigate defects, compare batches and reproduce an approved result.
Perform visual and dimensional inspection
Check for incomplete features, layer separation, cracks, distortion, blocked openings, residual resin, surface inhibition and support damage. Measure critical features using suitable inspection tools and acceptance criteria defined for the work order.
Record and release the result
Record the job ID, source file revision, operator, printer, resin, material batch, slicing profile, post-processing equipment, inspection result and any deviation. Release, rework or reject the part under the laboratory’s documented quality procedure.
One process structure does not mean one universal procedure.
Model geometry, dimensional priorities, material requirements and post-processing controls change with the application. Confirm the appropriate workflow before moving from working models to any final or patient-contact part.
Problems often begin one stage before they become visible.
A failed print does not always indicate a printer fault. Review the complete production chain before changing exposure, compensation or hardware settings.
Supports or removal tools contact margins and mating surfaces.
Reconsider orientation, support placement and removal access before increasing support density.
The mesh contains defects, unsupported regions or unsuitable wall geometry.
Return to the source file, mesh inspection and build preview instead of correcting the defect only through exposure changes.
Platform condition, vat film, resin behavior or profile settings do not support stable attachment.
Check equipment condition and the validated material profile before adjusting individual parameters.
Residual resin, contaminated cleaning liquid or incomplete drying remains.
Review the cleaning sequence, solution condition, drainage and drying procedure before UV curing.
The curing unit, temperature, exposure or part placement is inconsistent.
Validate the complete post-curing procedure for the selected material and inspect critical dimensions after processing.
Material batches, profiles, cleaning conditions or curing records are missing.
Use job-level records that connect the source file with the complete equipment and post-processing history.
Uncured resin requires controlled handling.
Establish a dedicated resin work area and base the controls on the current SDS, equipment instructions, workplace risk assessment and local waste rules.
Review the SDS before use
Confirm hazards, storage requirements, spill response, first-aid information and the personal protective equipment specified for the selected resin and cleaning liquid.
Prevent skin and eye contact
Use suitable gloves, protective eyewear and work practices defined by the SDS and workplace assessment. Replace contaminated gloves and clean affected work surfaces promptly.
Control ventilation and ignition risks
Operate printing and cleaning equipment in an appropriate work area. Cleaning liquids may introduce vapor and fire hazards that require separate controls.
Manage resin and cleaning waste correctly
Do not pour uncured resin or contaminated cleaning liquid into a drain. Collect, label and dispose of waste according to the SDS and applicable local environmental requirements.
Keep clinical responsibility separate
Equipment suppliers do not replace the judgment of dentists, dental technicians or other qualified professionals responsible for confirming the design, material and final clinical use.
Dental resin printing release checklist.
Adapt this checklist to the selected application, equipment and documented quality system. It is not a replacement for the printer manual, resin IFU, TDS, SDS or local regulatory procedure.
Digital file
Material and equipment
Build preparation
Post-processing
Final release
Dental workflow questions.
Confirm final settings with the applicable product documentation rather than copying parameters from an unrelated printer or resin.
What are the main stages of a dental 3D printing workflow?
Can one exposure profile be used for every dental resin?
How long should a dental resin print be washed?
Must a resin part be completely dry before UV curing?
Should supports be removed before or after UV curing?
Does every printed dental model require dimensional inspection?
Can dental model resin be used directly inside the mouth?
What information should be recorded for each print job?
Can Yidimu help configure a dental resin printing workflow?
Build the process around your actual application.
Share your model type, expected production volume, available digital files, preferred resin category and post-processing requirements. Yidimu can help review suitable printing equipment, materials and UV curing options without assigning unsupported clinical claims or universal processing parameters.