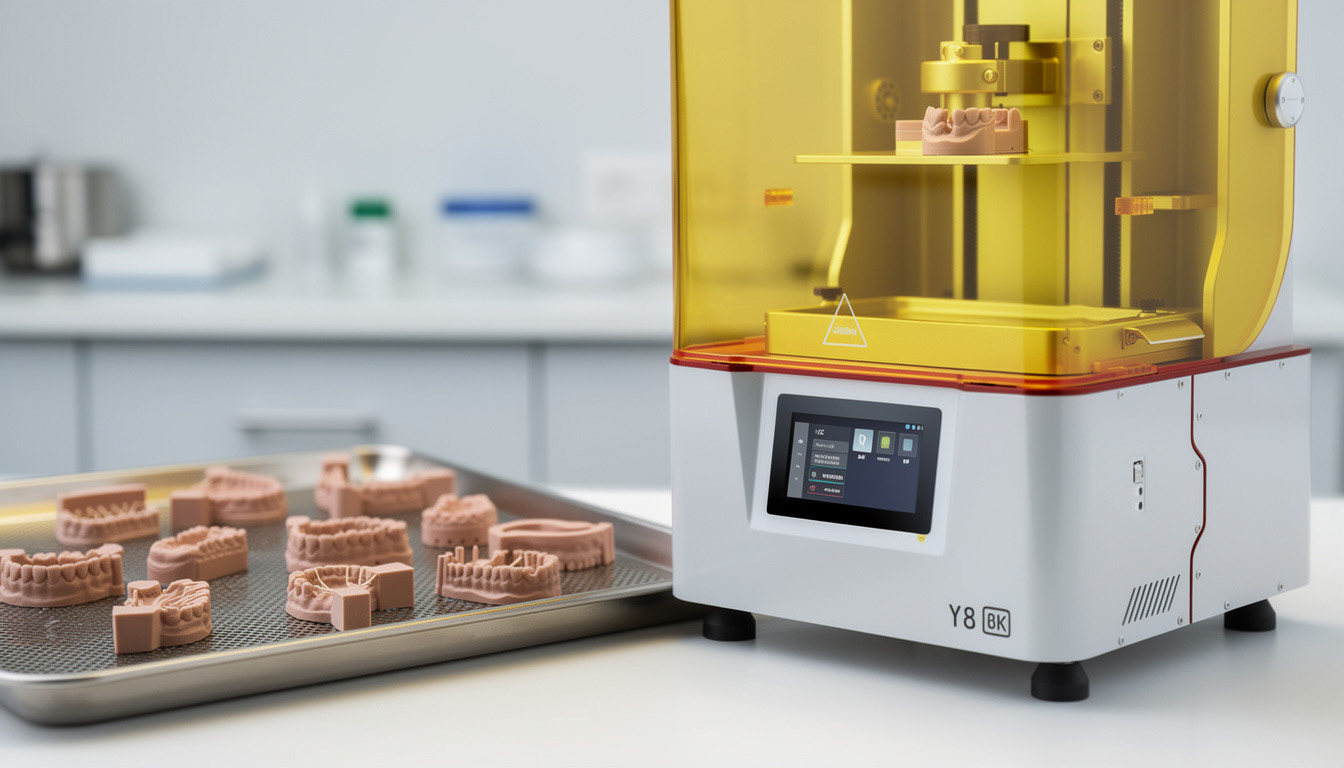
Dental casting pattern workflow
Castable Dental Resin
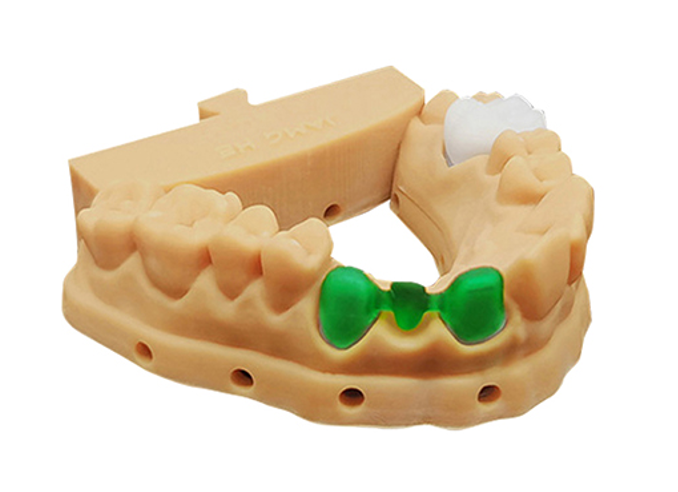
A light-curing resin for producing printed patterns that enter a separately validated dental investment and casting workflow.
This material is presented for printed casting patterns and laboratory workflow evaluation. It is not presented as a direct intraoral material, finished restoration, surgical guide, or universal dental resin.
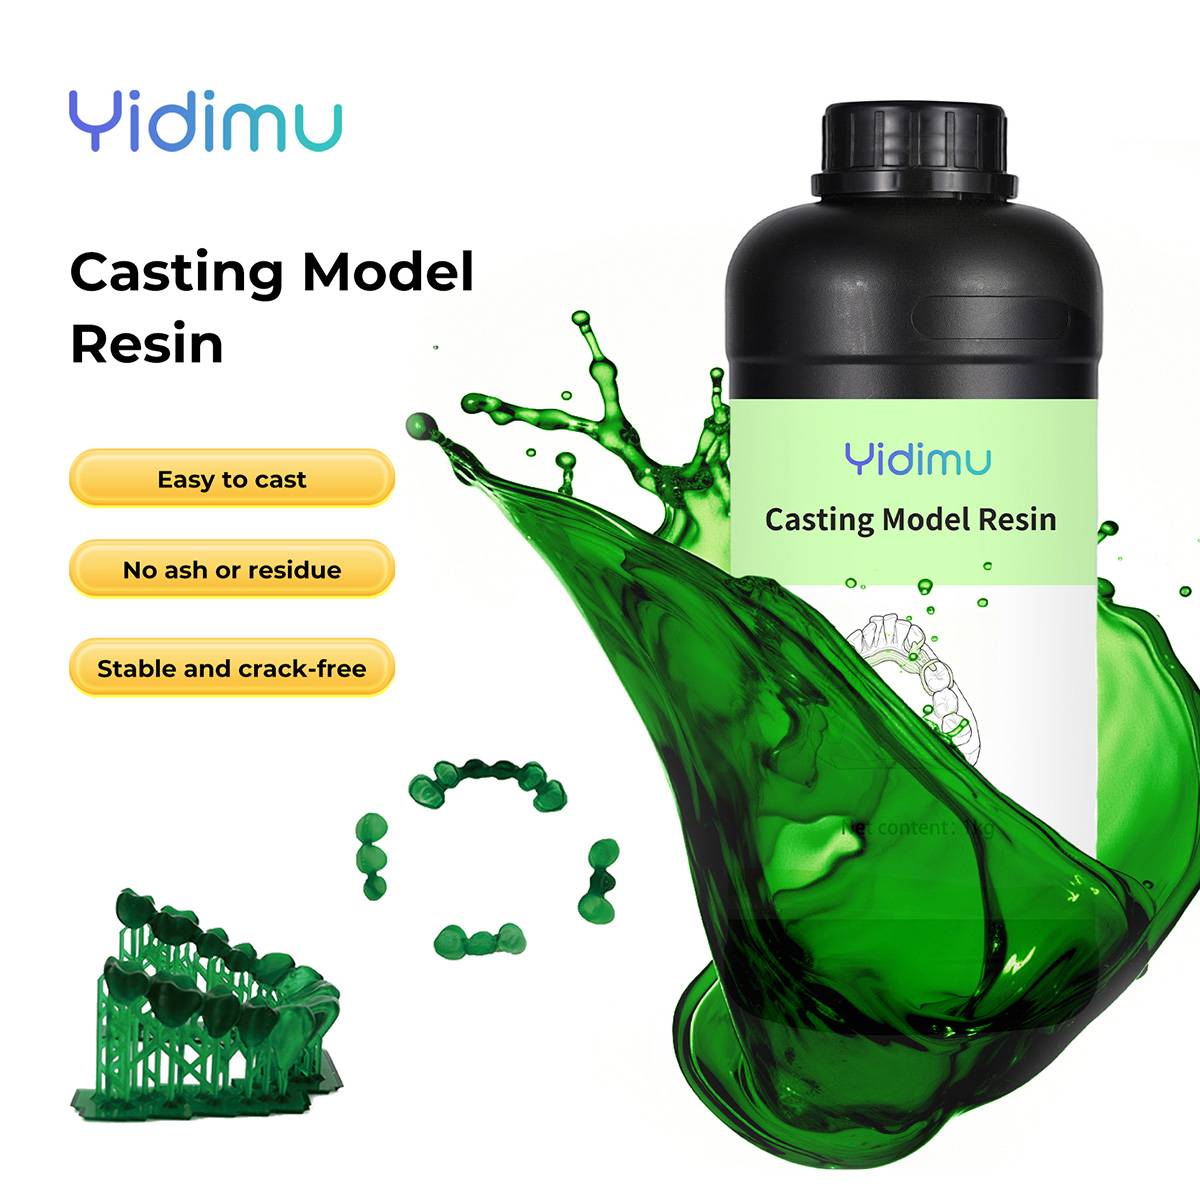
Product position
Printed patterns for controlled laboratory casting
Yidimu Castable Dental Resin is positioned for dental laboratories, model production teams, and technical users that print detailed patterns before investment and casting.
The printed resin pattern is one stage of the workflow. Model geometry, orientation, support placement, cleaning, post-curing, sprue design, investment selection, burnout development, alloy selection, equipment condition, and operator validation can all affect the final result.
Confirm the current product label, TDS, SDS, printer compatibility information, storage conditions, cleaning method, and post-curing instructions before production use.
Suitable users
Intended for professional workflow evaluation
The material should be selected by teams that can document printing, post-processing, investment, burnout, casting, and inspection conditions.
Dental laboratories
For teams evaluating printed patterns within established crown, bridge, framework, or related laboratory casting processes.
Denture processing centers
For technical departments that need repeatable model preparation, traceable material handling, and controlled casting trials.
Digital dental teams
For operators transferring approved digital designs into supported, sliced, printed, cleaned, and inspected physical patterns.
R&D departments
For controlled comparison of orientation, support strategies, printer settings, post-processing, and investment compatibility.
Professional procurement
For buyers who need to review documentation, printer matching, resin handling, workflow requirements, and sample validation.
Qualified professionals
A dental technician, dentist, or other qualified professional must confirm the permitted final use under applicable documentation and local requirements.
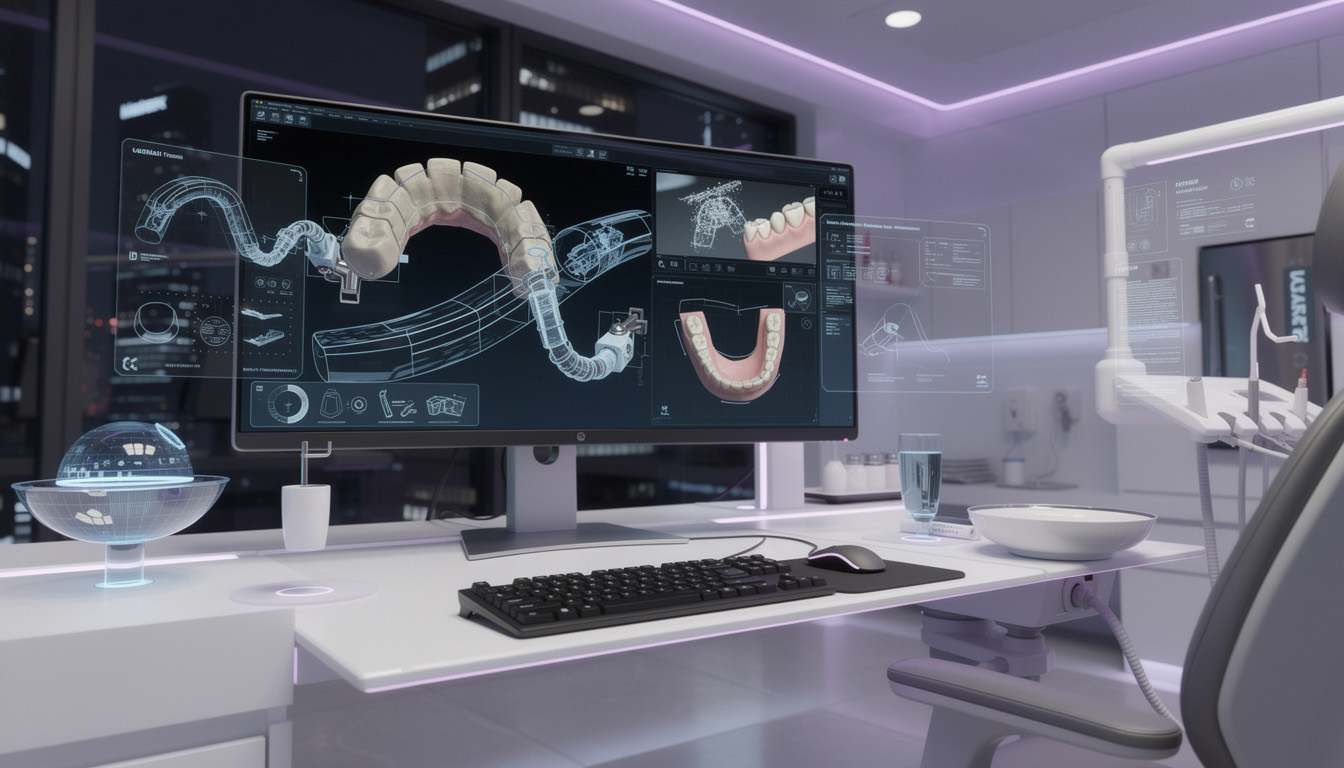
Printing preparation
Build a repeatable pattern-production process
Start with documented settings and controlled test pieces rather than assuming one parameter profile will work across every printer, model, resin batch, or laboratory environment.
Review the file
Confirm geometry, dimensions, model integrity, critical surfaces, and the intended casting route before support generation.
Choose orientation
Balance surface access, support contact, cross-sectional area, drainage, print stability, and dimensional verification.
Plan supports
Place supports where they can stabilize the pattern without unnecessarily damaging margins or other critical geometry.
Verify settings
Confirm wavelength, resin profile, layer strategy, printer condition, vat condition, build platform, and environmental needs.
Prepare resin
Follow the current product instructions for mixing, temperature, contamination control, storage, and batch identification.
Run a test build
Use representative geometry to evaluate support behavior, surface quality, dimensional response, and post-processing access.
Record the build
Record the printer, resin batch, file revision, orientation, support strategy, settings, operator, and observed result.
Approve or adjust
Do not release a pattern to casting until the printed part passes the laboratory’s visual and dimensional acceptance criteria.
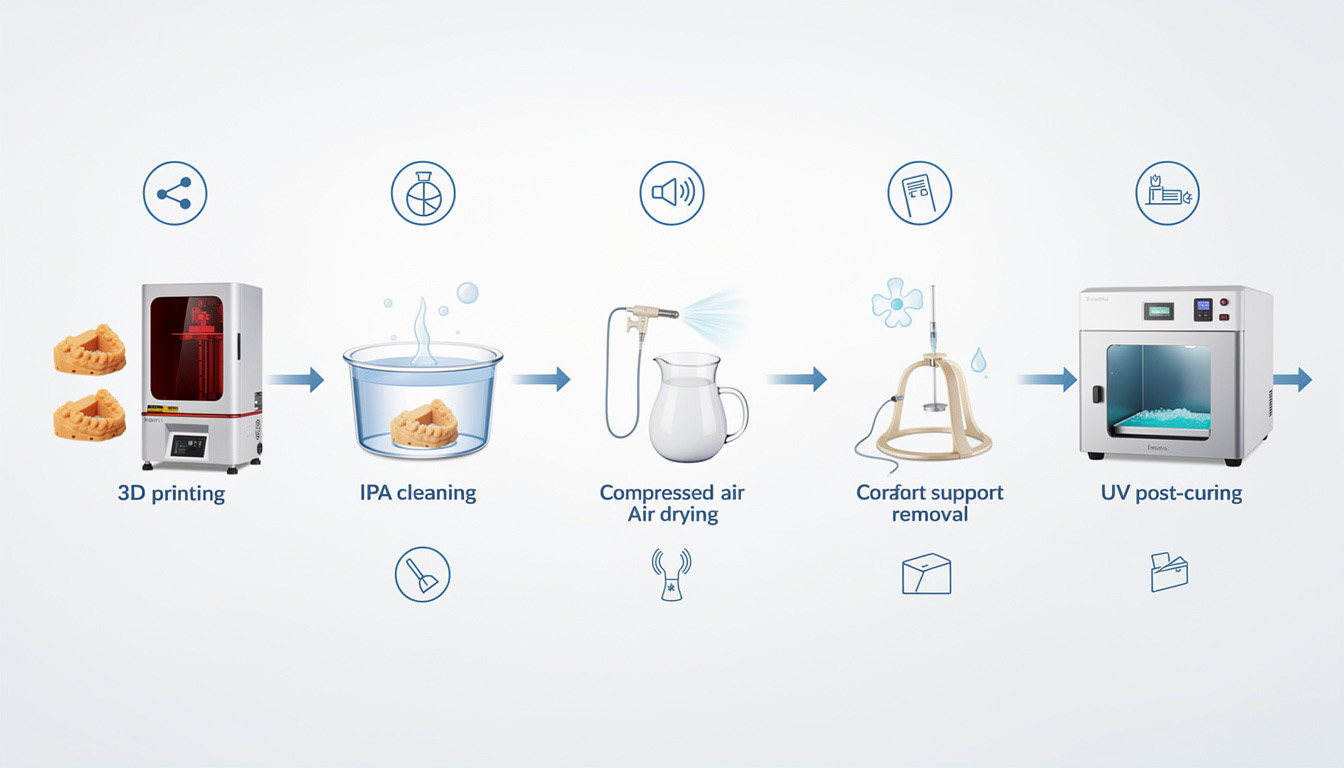
Post-processing
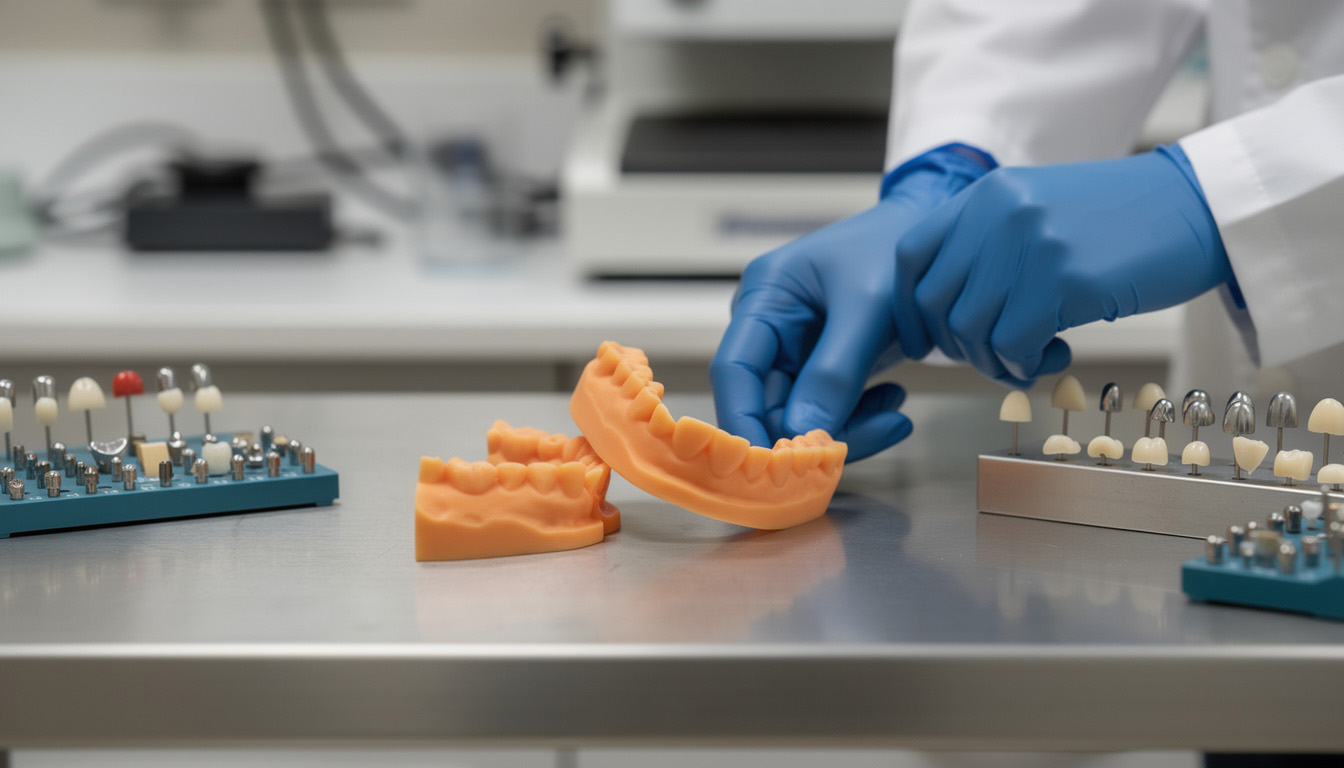
Clean and cure without damaging the pattern
Printed patterns should be handled as uncured or partially cured photopolymer parts until the documented cleaning, drying, and post-curing process is complete.
-
01
Drain
Allow excess resin to drain using a controlled method that protects fine features and limits contamination. -
02
Clean
Use only the cleaning agent, equipment, exposure, and replacement criteria permitted by the current product documentation. -
03
Dry
Confirm that cleaning liquid has been removed from surfaces, internal features, connectors, and support contact areas. -
04
Remove supports
Follow a sequence that limits stress, chipping, distortion, or accidental damage to critical surfaces. -
05
Post-cure
Verify wavelength, equipment compatibility, part placement, and the resin-specific curing procedure before processing. -
06
Inspect
Check cleanliness, surface condition, support marks, deformation, incomplete features, and dimensional criteria.
Before investment and casting
Evaluate the complete process combination
A printable resin is not, by itself, a validated casting process. The laboratory must establish a compatible procedure using current resin documentation, the investment manufacturer’s instructions, casting equipment requirements, alloy requirements, and internal test results.
No universal ash content, burnout temperature, heating rate, holding time, expansion value, or casting result is stated on this page.
Product information
Confirm the current technical documents
The table separates published product information from items that require confirmation through current formal documentation.
| Product category | Castable dental resin / casting pattern resin |
|---|---|
| Published appearance | Green translucent |
| Published printer technology | LCD / DLP light-curing systems |
| Published wavelength range | 385–405 nm |
| Published package size | 1 kg |
| Cleaning instructions | Confirm from the current TDS, IFU, label, and printer-specific workflow documentation. |
| Post-curing instructions | Confirm from the current resin documentation and compatible curing-equipment information. |
| Investment compatibility | Requires process-specific confirmation and testing. |
Equipment matching
Match the resin to the complete printing system
Wavelength is only one compatibility factor. Confirm the printer, light source, resin profile, build volume, software, vat, platform, environmental conditions, cleaning equipment, and UV curing equipment as one process.
Handling and compliance
Treat uncured resin as a controlled chemical material
FAQ
Castable dental resin questions
What is castable dental resin used for?
It is used to print patterns that may enter a separately developed investment and casting workflow. The printed pattern is not the final cast metal component and is not presented here as a direct intraoral product.
Which printers can use this resin?
Yidimu’s published product information identifies LCD and DLP systems operating within 385–405 nm. Compatibility still needs confirmation for the exact printer, light source, software profile, vat, platform, and workflow.
Can one exposure profile be used on every printer?
No universal profile should be assumed. Light intensity, optical configuration, layer strategy, machine condition, geometry, orientation, resin condition, and environment may require controlled testing and adjustment.
How should printed patterns be cleaned?
Follow the current resin TDS, SDS, IFU or label instructions, together with the cleaning-equipment requirements. Do not select a cleaning agent or cleaning time from an unrelated resin.
Does every pattern require UV post-curing?
Follow the product-specific documentation. Where post-curing is required, verify wavelength, exposure procedure, equipment condition, model placement, and completion criteria.
What burnout temperature should be used?
This page does not provide a universal burnout temperature or schedule. Develop the process using current resin information, the investment manufacturer’s instructions, casting-equipment requirements, and validated laboratory trials.
Is a low-ash result guaranteed?
No ash value or result guarantee is stated on this page. Request the current formal product documentation and validate the complete resin, investment, burnout, and casting combination.
Is this resin biocompatible or approved for intraoral use?
No general biocompatibility, FDA, CE, ISO, MDR, or direct intraoral claim is made here. Any medical or patient-contact use requires product-specific documentation, an authorized indication, compatible equipment and post-processing, and confirmation under applicable regulations.
What information should be sent with an inquiry?
Send the printer model and wavelength, pattern type, maximum dimensions, digital file details, expected quantity, required surface and dimensional criteria, current investment material, casting method, post-processing equipment, and destination market.
Project inquiry
Send your pattern and process requirements
Yidimu can review the available product information and discuss printer matching, sample printing, resin handling, and workflow questions. Final casting validation remains the responsibility of the qualified laboratory and professional team.
- Printer: model, technology, and wavelength
- Pattern: type, dimensions, and file information
- Output: expected quantity and batch frequency
- Inspection: critical surfaces and acceptance needs
- Post-processing: cleaning and curing equipment
- Casting: investment, alloy, and existing procedure
- Documents: TDS, SDS, IFU, or compliance needs
- Market: destination country or regulatory region
Technical and regulatory notice: Yidimu is an equipment and resin supplier, not a hospital, clinic, diagnostic provider, or treatment provider. This page provides general product and workflow information and does not provide medical advice. Material suitability, printer compatibility, cleaning, post-curing, investment, burnout, casting, inspection, patient-contact status, and final use must be confirmed through the current product-specific TDS, SDS, IFU, equipment documentation, validated laboratory procedures, and applicable local regulations. A dentist, dental technician, or other qualified professional is responsible for confirming the permitted clinical or laboratory application. Printed casting patterns must not be confused with finished restorations or dental devices intended for direct intraoral use.