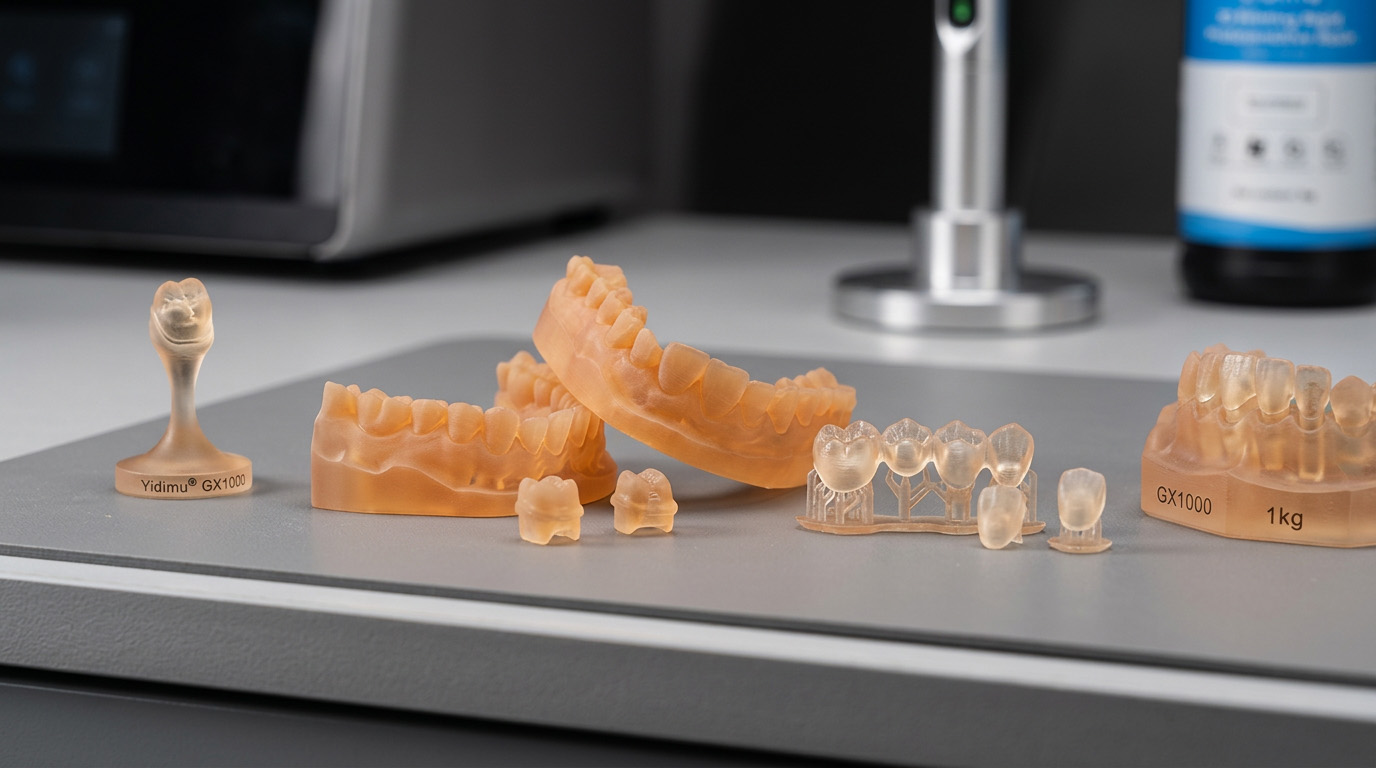
Dental Model Resin for Professional 3D Printing Workflows
Yidimu dental model resin is intended for producing physical dental models used in laboratory inspection, fitting, planning, presentation, and model-based production workflows.
Select model color by inspection and workflow requirements
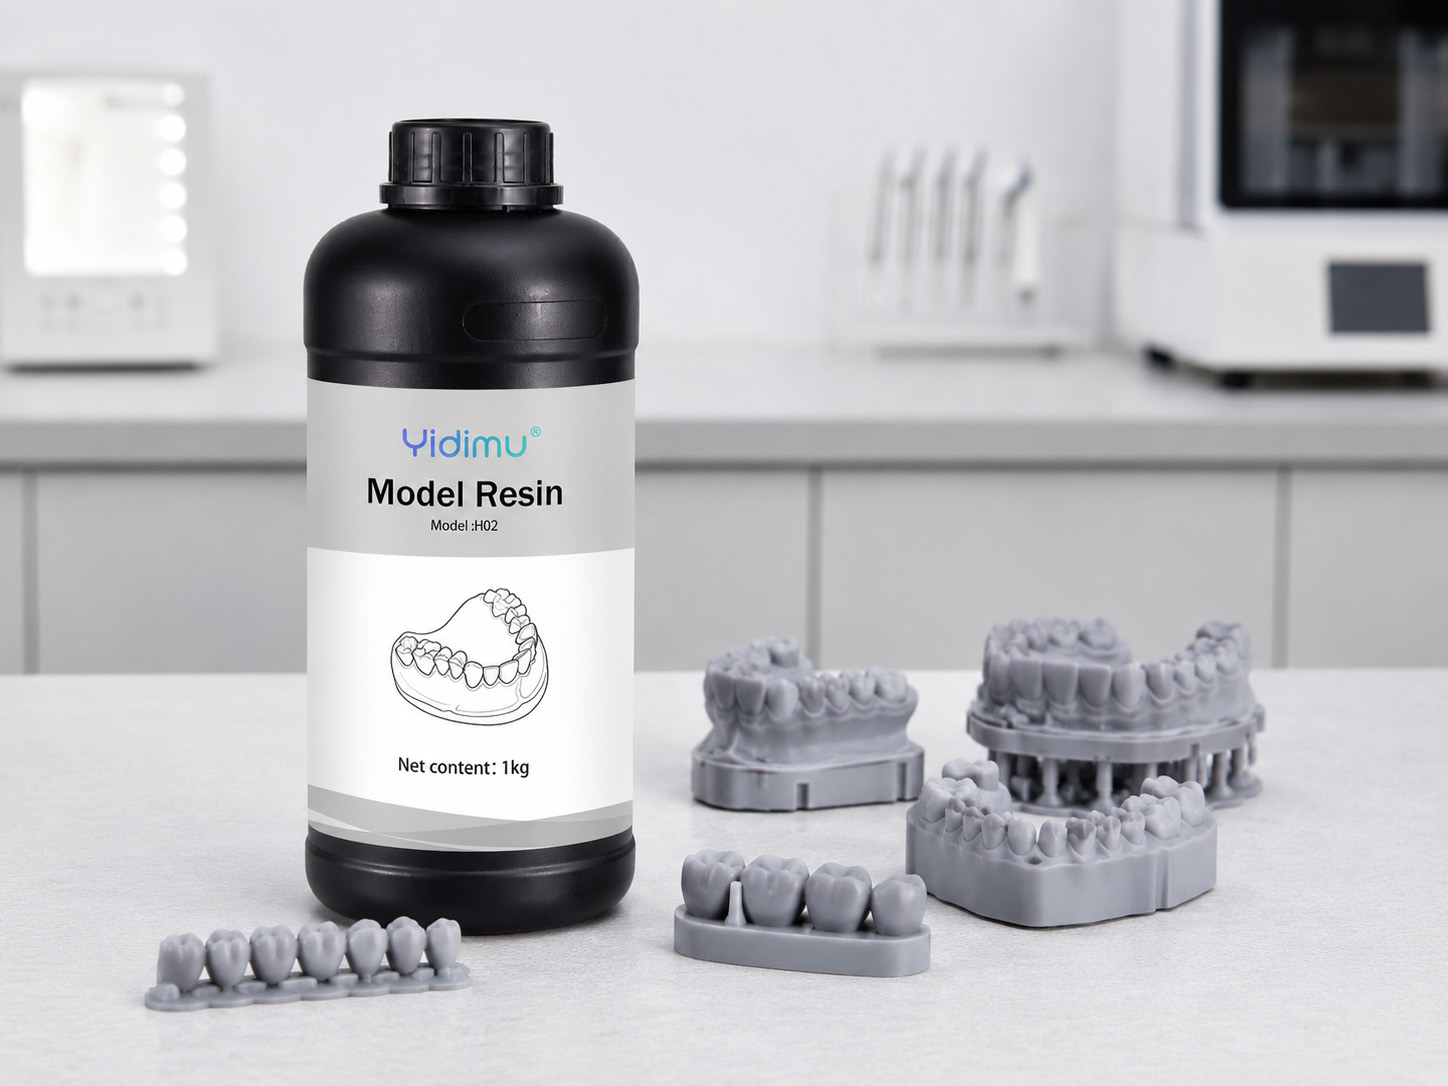
Gray Dental Model Resin
Gray can provide neutral visual contrast for observing model geometry, margins, preparation areas, grooves, and support-contact locations under laboratory lighting.
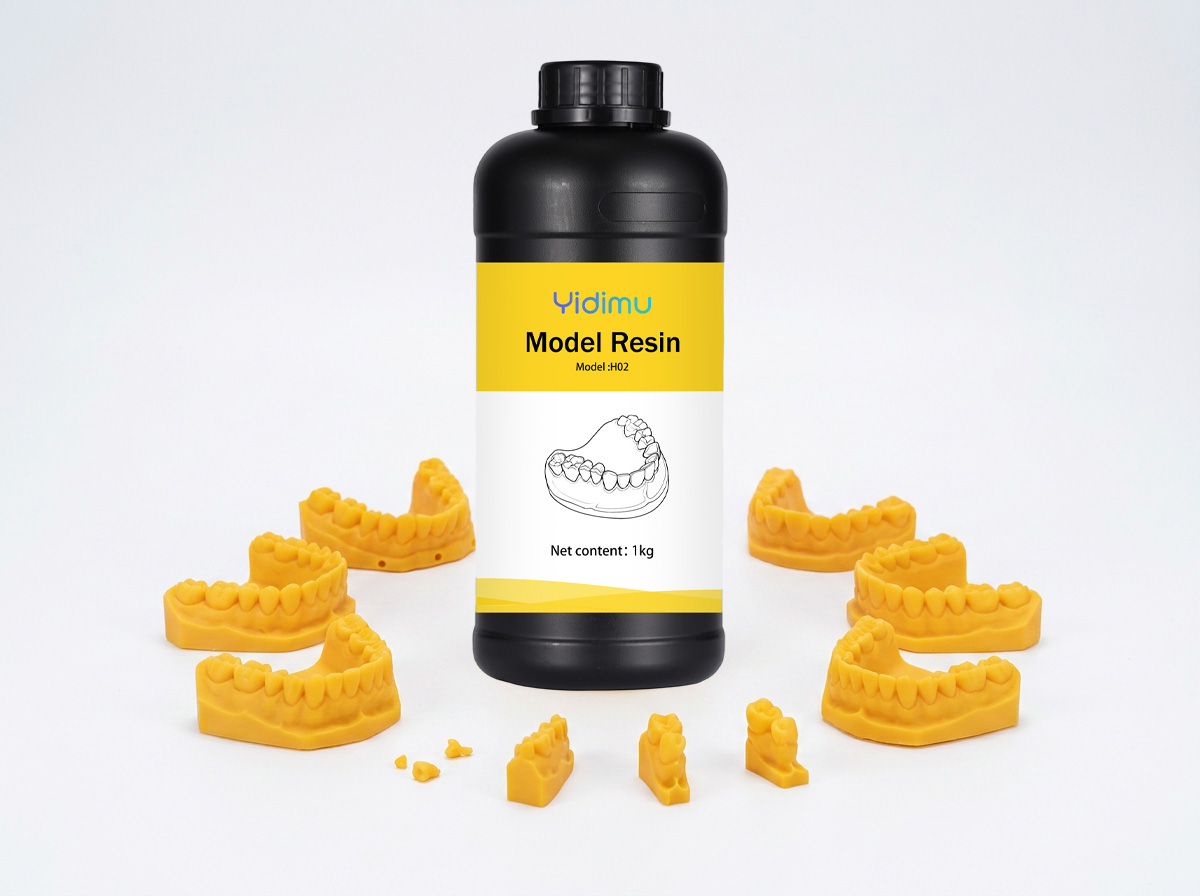
Yellow Dental Model Resin
Yellow provides a traditional model appearance that may be useful for laboratory presentation, photography, visual review, and communication between production teams.
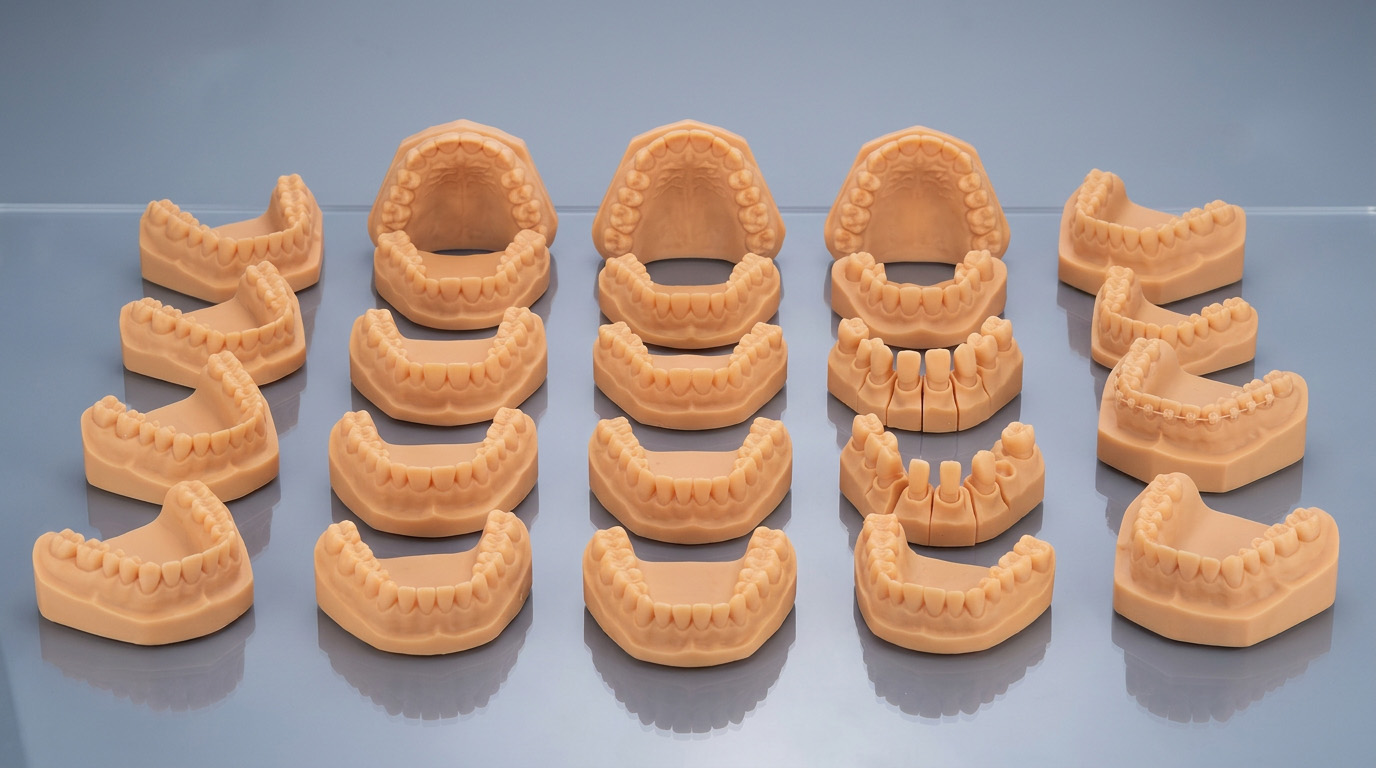
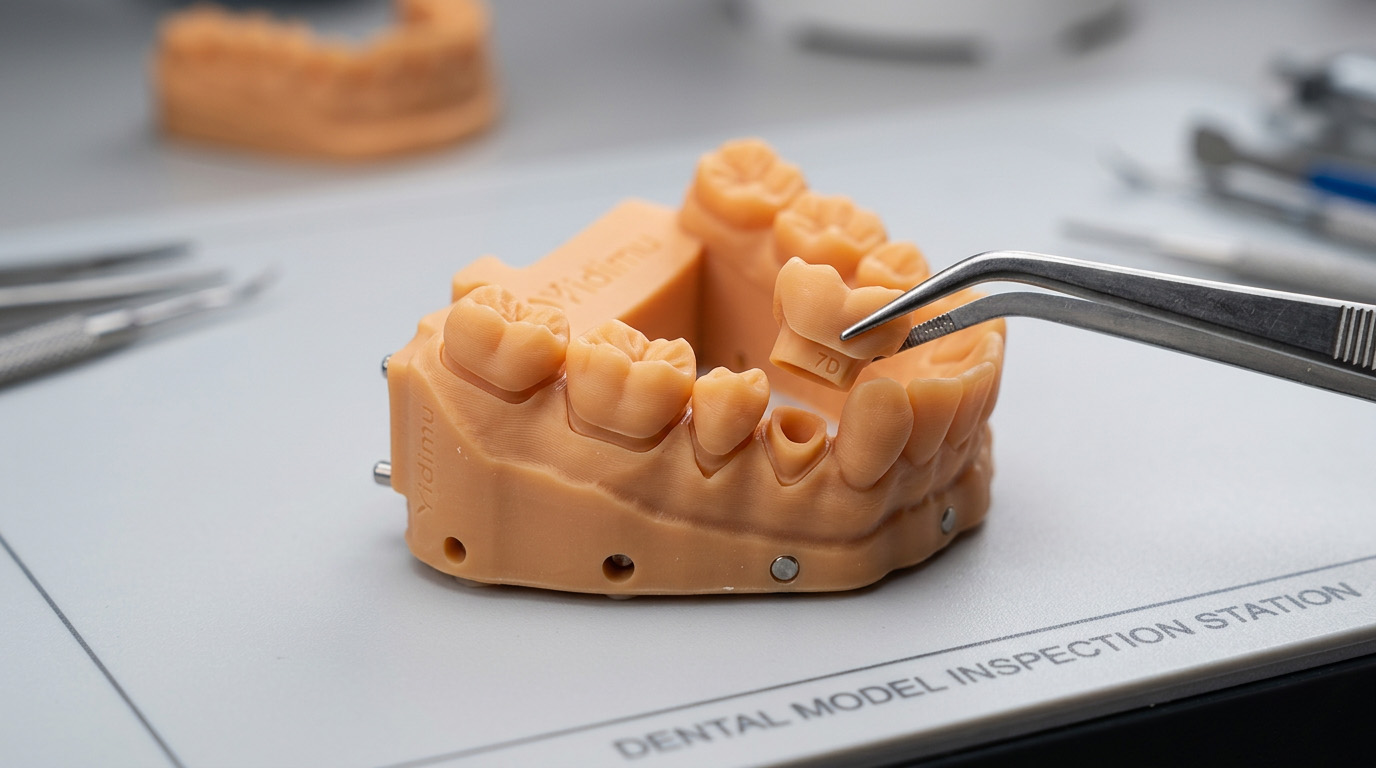
Define what must remain visible on the finished model
Position supports and orient the model so critical preparation boundaries remain accessible for inspection.
Review slicing, layer strategy, support placement, washing, and curing as one validated process.
Confirm CAD clearances and production tolerances using the laboratory’s approved test model and inspection method.
Select gray or yellow based on lighting, photography, scanning, marking, and internal communication needs.
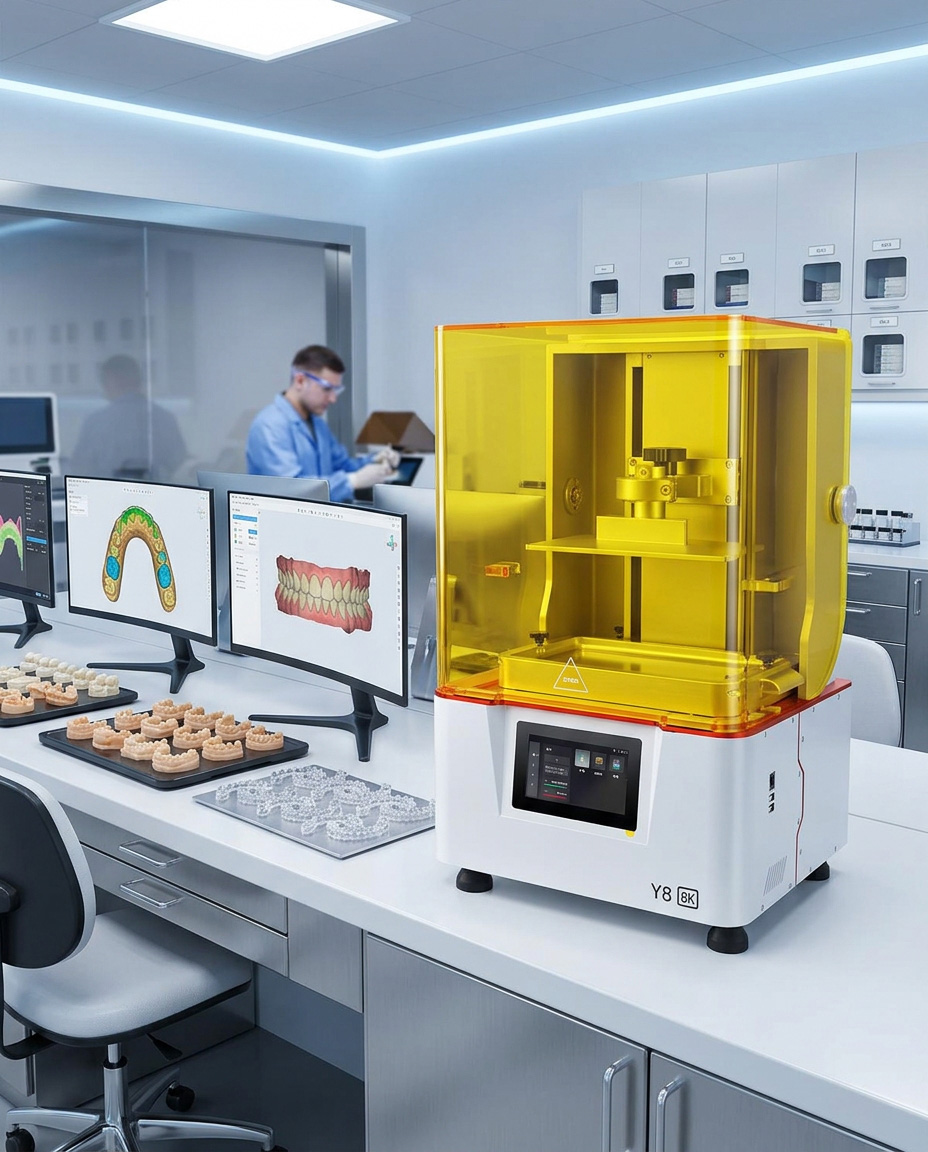
Validate the resin, printer, vat, and curing equipment together
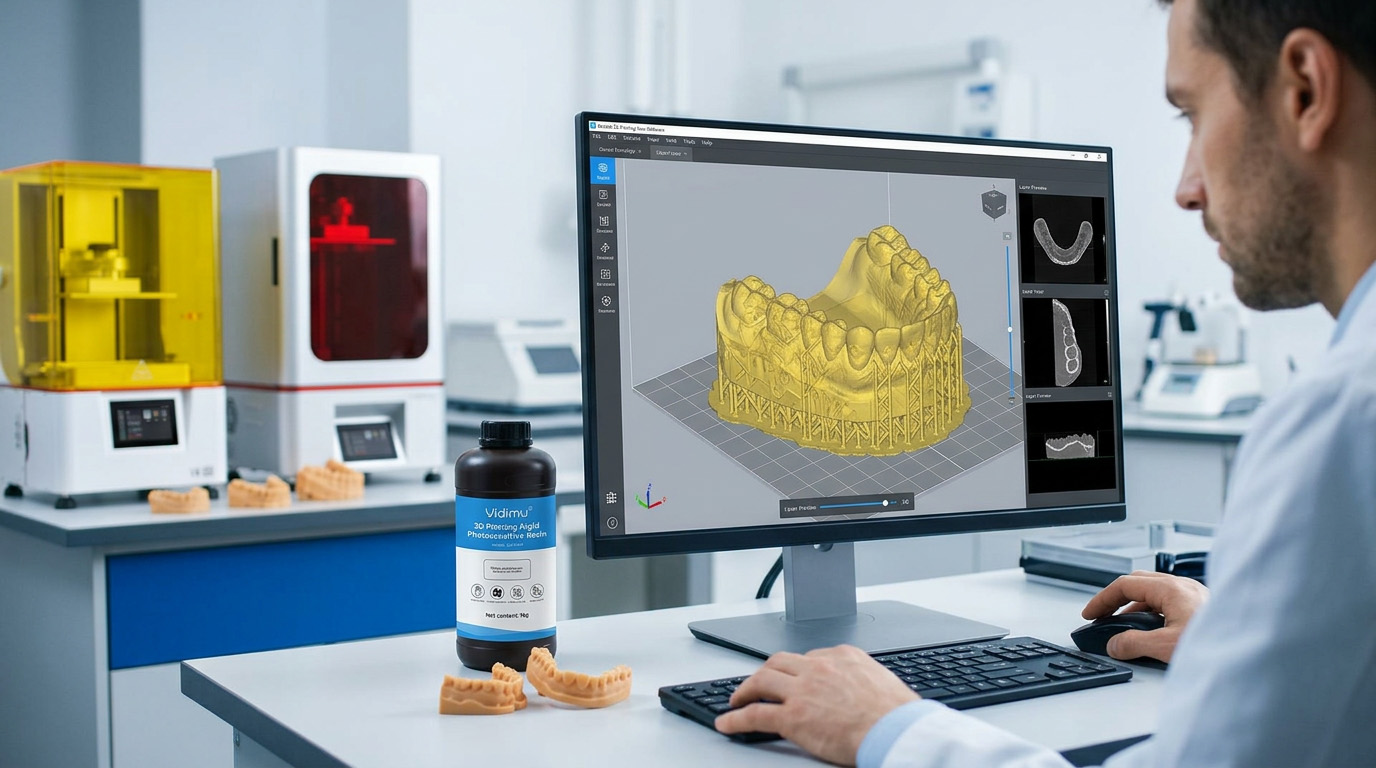
Prepare the model for the required inspection task
A stable workflow begins with a printable model file and a clearly defined purpose. The production team should know which surfaces, interfaces, margins, dies, and base features will be inspected.
Review the digital model
Check mesh integrity, wall geometry, base construction, removable components, labels, and critical interfaces.
Define orientation
Balance support access, visible surfaces, build height, resin drainage, and the laboratory’s validated orientation.
Place supports deliberately
Keep support contacts away from critical margins and inspection areas whenever the validated workflow permits.
Confirm material condition
Inspect the bottle label, batch information, storage condition, expiration information, and resin uniformity.
Run a documented test
Evaluate a representative model before approving a new resin batch, printer profile, design, or post-processing change.
Cleaning, drying, support removal, and UV curing
Post-processing is part of the controlled production process. Do not use one cleaning agent, washing time, support-removal sequence, or curing cycle as a universal setting for every resin and model.
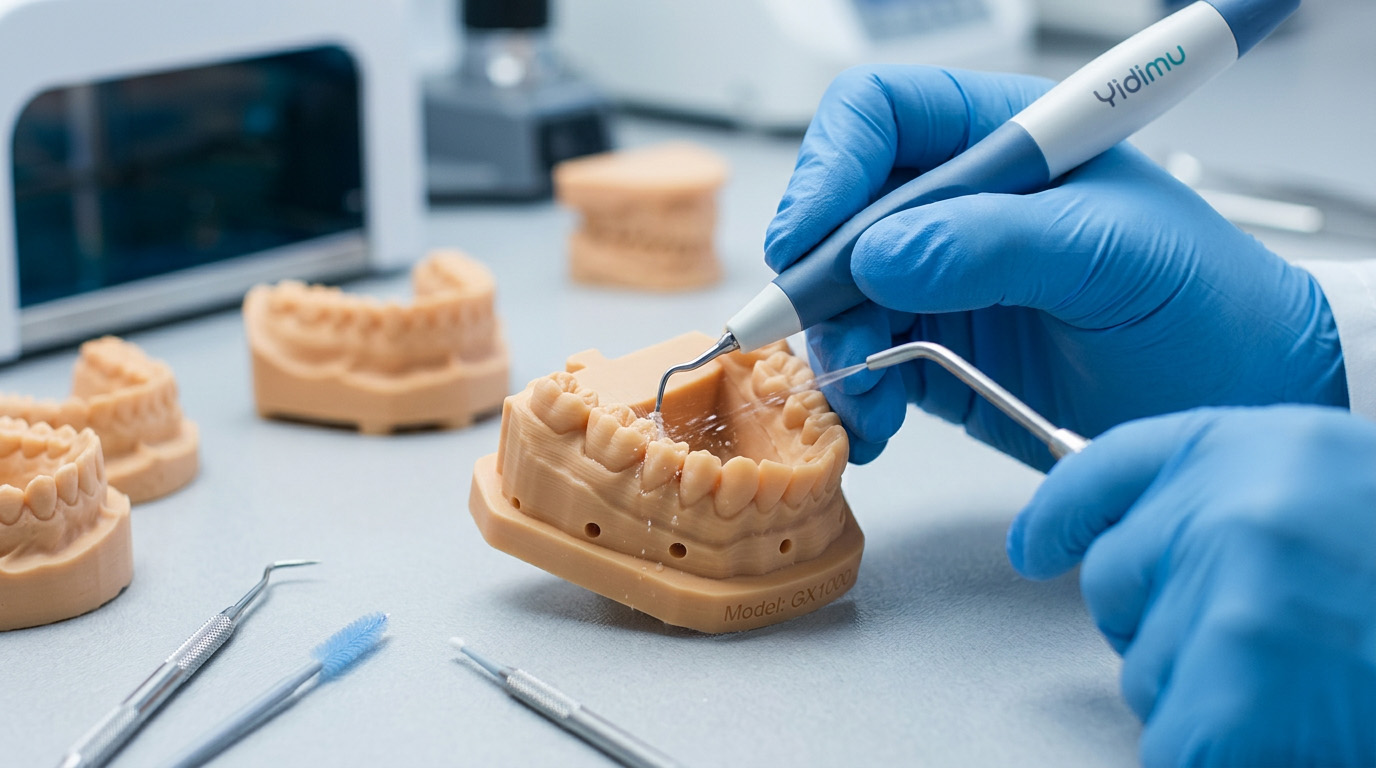
Clean and dry
Use only the cleaning agent, equipment, method, and duration specified for the exact resin. Ensure the model is properly drained and dry before the next validated step.
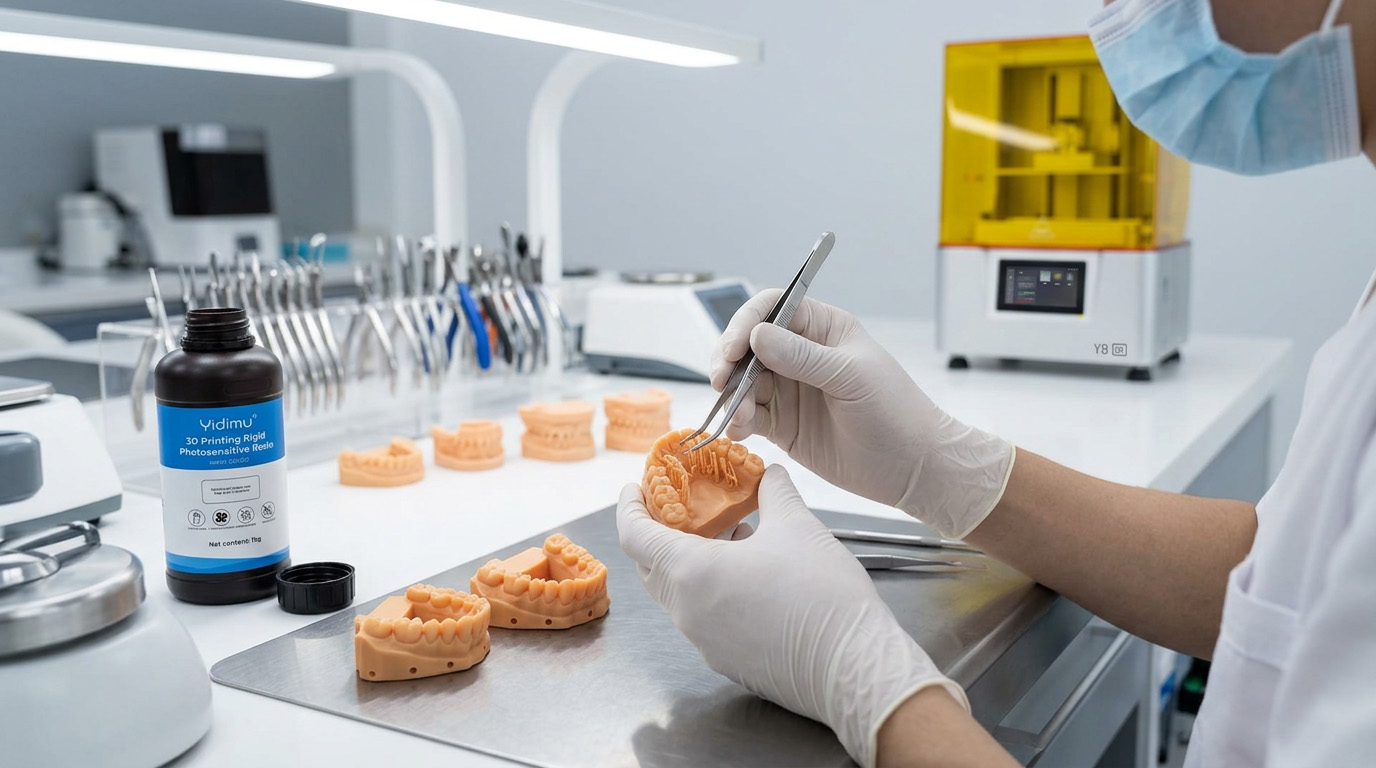
Remove supports
Follow the approved sequence for the resin and model geometry. Avoid damaging margins, die interfaces, thin structures, and surfaces required for inspection.
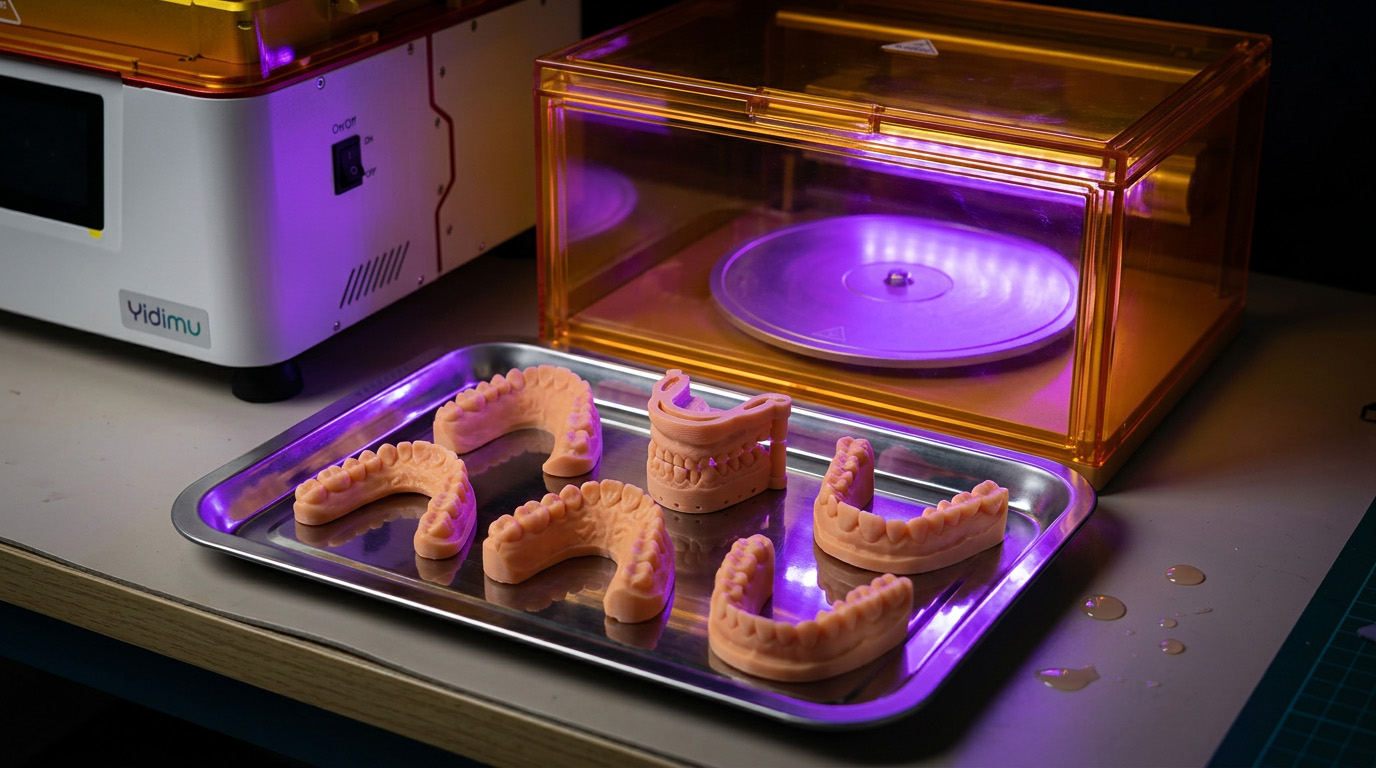
UV post-cure
Match the curing equipment, wavelength, model position, load, temperature, and cycle to the current resin documentation. There is no single curing time for every model.
Before cleaning
Allow excess resin to drain according to the approved workflow. Keep uncured material away from skin, eyes, uncontrolled work surfaces, and ordinary wastewater systems.
After cleaning
Inspect recesses, internal surfaces, support areas, and the model base for remaining liquid resin or cleaning-agent residue.
During support removal
Use suitable tools and eye protection. Document damage, cracking, distortion, or surface defects before accepting the model.
After curing
Allow the model to stabilize as required, then complete visual, dimensional, fit, and surface checks using the laboratory’s approved inspection method.
Request documents for the exact resin SKU
- Product category
- Light-curing resin for printed dental models
- Publicly presented colors
- Gray and yellow; confirm availability for the requested SKU
- General printer category
- LCD/DLP light-curing systems
- Publicly stated wavelength range
- 385–405 nm; printer-specific validation remains required
- Direct intraoral use
- Not established by this page; do not use this page as authorization.
Control light exposure, contamination, and operator contact
Protect it from unintended light exposure and store it within the documented temperature and environmental conditions.
Keep resin grades, colors, vats, tools, filters, and cleaning containers clearly identified.
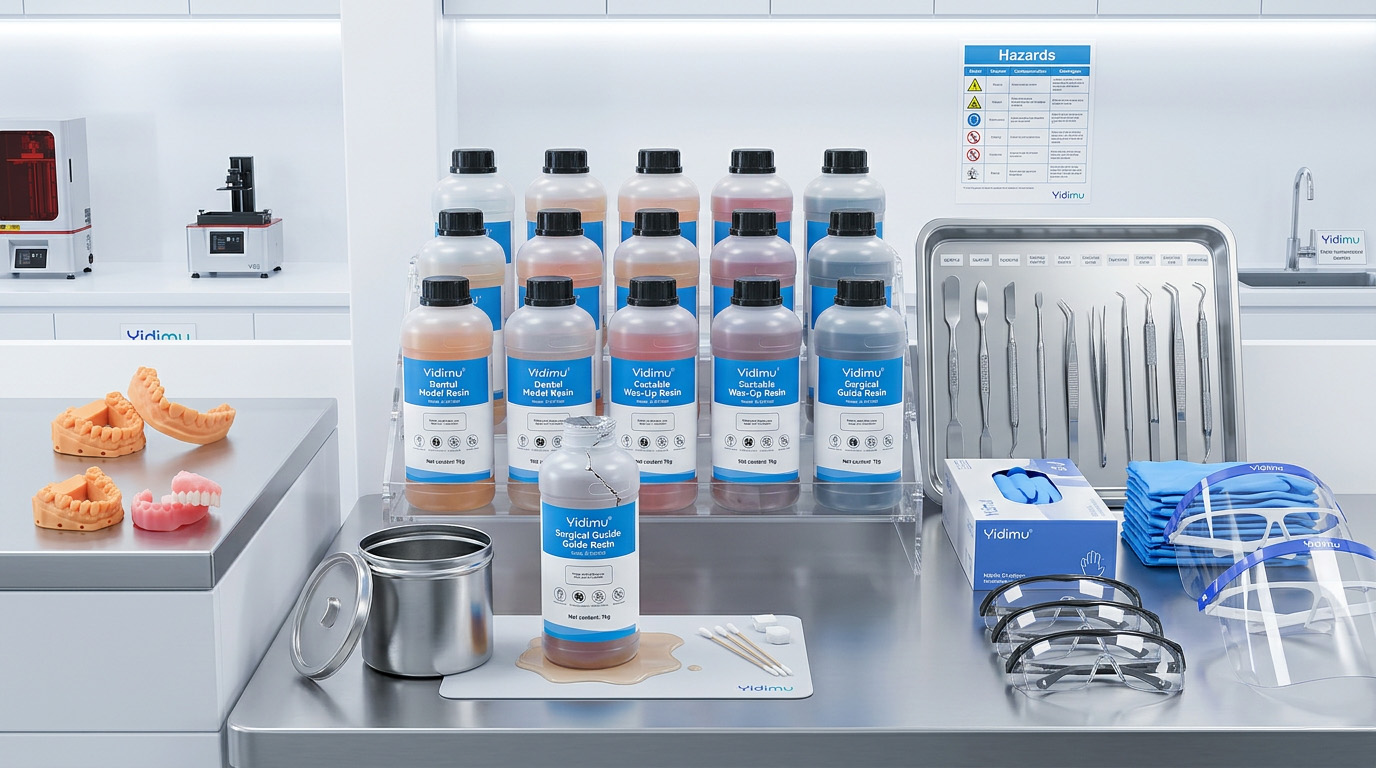
Follow the SDS for gloves, eye protection, protective clothing, ventilation, hygiene, and spill response.
Dispose of liquid resin, cleaning waste, wipes, supports, filters, and containers according to the SDS and local regulations.
Record product name, color, batch, opening date, printer, profile, cleaning process, curing process, and inspection result.
Send enough information for resin and equipment matching
Dental model resin FAQ
What is Yidimu dental model resin intended to print?
It is positioned for printed dental models, including full-arch models, quadrant models, crown and bridge working models, removable-die models, orthodontic study models, and related model-based laboratory workflows. Confirm the exact application against the current documentation for the selected SKU.
Which colors are available?
Can the resin run on any LCD or DLP printer?
No universal compatibility should be assumed. Confirm the printer model, wavelength, optical system, resin profile, vat condition, software settings, model structure, and post-processing equipment. Complete a representative test before batch production.
How should a printed dental model be cleaned?
Use the cleaning agent, equipment, duration, and agitation method stated in the current TDS, SDS, or IFU for the exact material. Do not assume that one solvent or washing time is suitable for every resin.
How long should the model be UV cured?
There is no universal curing time. The required cycle can depend on the resin, model size, wall thickness, color, orientation, curing wavelength, light output, temperature, equipment, and intended model workflow. Follow the current validated instructions.
Should supports be removed before or after UV curing?
Follow the sequence specified for the selected resin and validated workflow. Model geometry, support size, surface requirements, and risk of damage can affect the preferred sequence.
Can this model resin be used directly in the mouth?
This page does not establish direct intraoral use. Do not use a dental model resin to produce an oral-contact device unless the exact product has documented suitability, applicable regulatory status, validated printer and post-processing compatibility, and a confirmed intended use for that device.
What information should be sent with an inquiry?
Provide the printer model, wavelength, model file, intended model type, required color, inspection points, production quantity, cleaning equipment, curing equipment, destination market, and required product documents.
Continue planning the complete printing workflow
Request dental model resin information for your printer
Send the printer model, wavelength, model file, required color, application description, expected quantity, post-processing equipment, destination market, and required documentation.