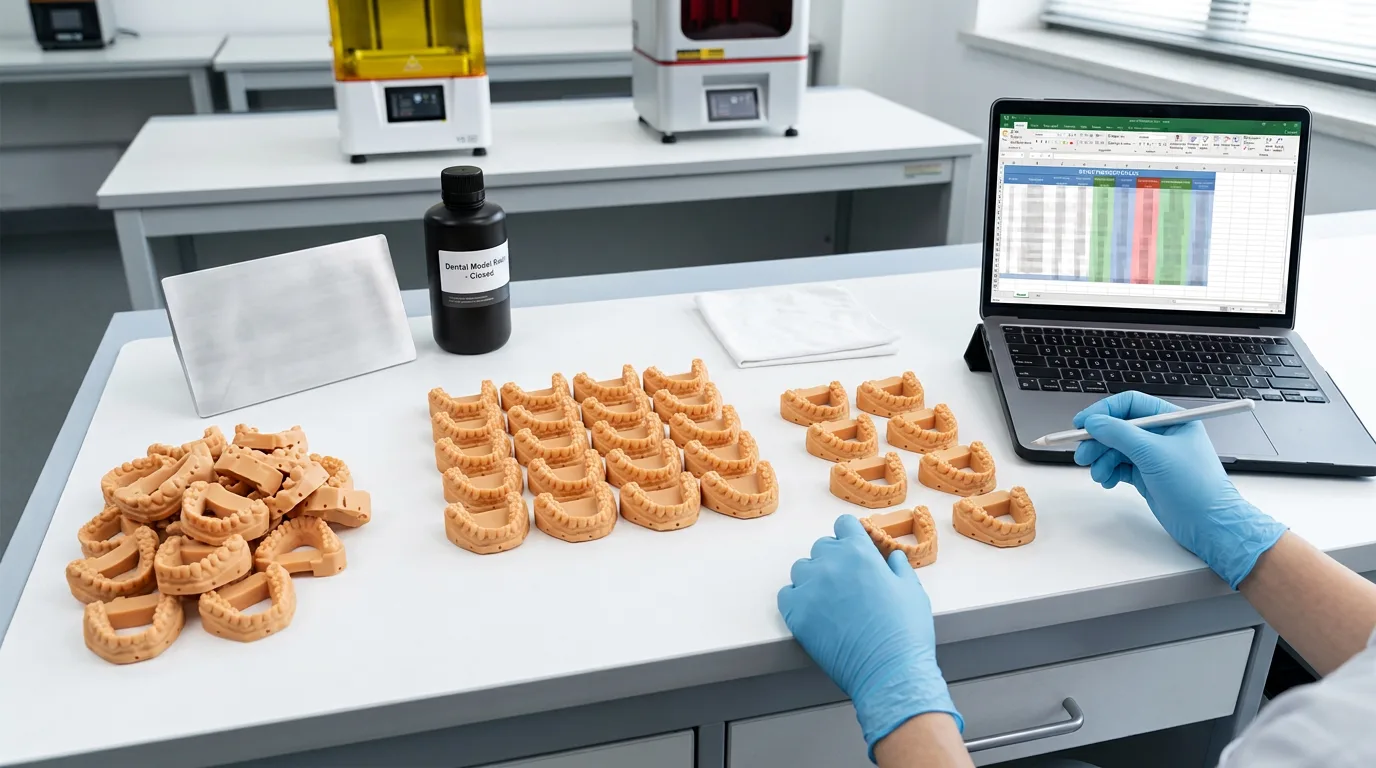
Cost per usable dental model = material + washing/post-processing consumables + labor + equipment allocation + maintenance allocation + failed-print allowance
This is a more useful starting point than simply multiplying resin volume by resin price.
For a dental lab, the real question is not, “How much resin is inside this model?” It is, “How much did we spend to produce each model that passed inspection and can actually be used?”
That distinction matters because a completed dental model carries part of the cost of supports, resin losses, washing, post-curing, technician time, equipment use, maintenance and unsuccessful prints.
The American Dental Association makes the same broader point when discussing the economics of dental 3D printing. Its printer-selection guidance recommends considering not only material costs but also washing and curing equipment, staff time, software, training, space, production capacity and remakes when evaluating return on investment.
A practical way to calculate unit cost is therefore to calculate the cost of an entire build first, then divide it by the number of usable models produced.
1. Calculate resin consumed by the models
Start with the resin that becomes part of the printed dental models.
Your slicing software may estimate resin consumption by volume or weight. If your resin is purchased by weight while the software reports volume, use the resin manufacturer’s density data when available rather than assuming that 1 mL always equals 1 g.
For example:
Model resin cost = resin used by model bodies × resin price per unit
But this is only one part of material cost.
2. Add supports and bases
Supports, rafts and additional base structures consume resin even though they may be removed after printing.
They should therefore be included in the material used by the build.
A better formula is:
Material cost per build = (model resin + supports/base resin + non-recoverable resin loss) × resin price per unit
Then:
Material cost per usable model = material cost per build ÷ usable models per build
This is already more realistic than using the model body’s resin volume alone.
3. Do not count all resin in the vat as consumed
There is an important difference between resin loaded into a printer and resin actually consumed.
Suppose resin remains in the vat after a build. If that material can be safely filtered, stored or reused according to the resin manufacturer’s instructions, it has not automatically become a cost of the models produced in that build.
Separate resin into these categories:
- resin consumed by model bodies
- resin consumed by supports and bases
- unused but recoverable resin
- resin lost during handling
Only the resin that is actually consumed or becomes non-recoverable should normally be charged to production.
Handling loss can include resin that cannot be recovered during draining, transfers, filtering or routine workflow operations.
Instead of guessing this value for each job, a dental lab can compare actual resin purchased with actual usable production over a longer period and establish a historical handling-loss allowance.
4. Add washing and post-processing consumables
A print coming off the build platform is not yet equivalent to a completed, usable dental model.
Depending on the resin and validated workflow, additional steps may include washing, drying, UV post-curing, support removal and final inspection.
ADA guidance specifically identifies washing and curing equipment as additional equipment requirements and notes that curing and finishing time should be considered when assessing a dental 3D printing workflow.
Consumable costs may include:
- washing fluid required by the resin workflow
- filters
- disposable gloves
- cleaning supplies
- other regularly replaced processing materials
There is no need to measure every small consumable for every individual model if doing so creates unnecessary administrative work.
A lab could instead calculate:
Monthly washing and processing consumables ÷ monthly accepted models
The same principle can be applied to other small recurring workflow expenses.
Post-curing also has a cost. Electricity can be counted as an operating cost, while the UV curing unit itself can be handled under equipment allocation.
Always follow the applicable resin TDS, SDS or processing instructions rather than assuming one washing or curing procedure applies to every dental material.
5. Calculate labor using active technician time
Do not treat the entire printing time as labor time.
If a printer operates unattended for two hours, that does not necessarily mean two hours of technician labor should be charged to the build.
Measure active work instead.
Typical active tasks may include:
- file preparation
- build setup
- printer loading
- platform unloading
- washing
- transferring and drying models
- UV post-curing setup
- support removal
- workspace cleaning
- model inspection
Use:
Labor cost per build = active labor time × loaded hourly labor cost
Then:
Labor cost per usable model = labor cost per build ÷ usable models per build
This is one reason batch production can reduce unit cost. Preparing and processing eight models together may require much less than eight times the labor required for one model.
6. Allocate printer and post-processing equipment
The printer still has a cost after it has been purchased.
For internal production costing, you can allocate equipment cost across its expected productive use.
One simple method is:
Printer allocation per productive hour = allocable printer cost ÷ expected productive printing hours
Another is:
Printer allocation per build = allocable printer cost ÷ expected productive builds
Washing and UV post-curing equipment can be allocated in the same way.
This is a production-costing method, not necessarily the same as the depreciation method your accountant uses for financial reporting.
The important point is consistency. Choose a reasonable allocation method and use the same method when comparing jobs or workflows.
7. Add maintenance allocation
Printer ownership also involves maintenance and replacement of wear-related components.
Rather than waiting until a maintenance expense occurs and assigning the entire amount to one build, spread the cost across production.
For example:
Annual maintenance cost ÷ annual productive builds
or:
Annual maintenance cost ÷ annual accepted models
Once the lab has enough production history, actual maintenance records are more useful than a generic estimate.
8. Adjust the calculation for failed prints and rejected models
This is where theoretical cost and real production cost can diverge quickly.
If you intended to produce eight models but only seven pass inspection, the cost should normally be divided by seven accepted models, not eight planned models.
Use:
Failure-adjusted cost per usable model = total production cost ÷ number of accepted models
This method automatically assigns the cost of unsuccessful output to the models that were actually usable.
For forecasting, you can also use:
Estimated failure-adjusted cost = base cost per model ÷ (1 − expected failure rate)
For example, if your historical rejection rate is 5%:
Estimated failure-adjusted cost = base cost per model ÷ 0.95
Historical production data is preferable to an arbitrary percentage.
Also avoid double counting. If rejected models and reprints are already included in your historical total production spending, do not add another failure allowance on top of that cost.
Hypothetical example
The following values are completely hypothetical and are included only to demonstrate the calculation method. They are not Yidimu prices, quotations, recommended operating costs or industry-standard values.
Assume one build is prepared with eight dental arch models.
Recorded costs:
Model resin: 140 mL
Supports and bases: 18 mL
Non-recoverable resin loss: 10 mL
Hypothetical resin price: $110/L
Washing and processing consumables: $3.20 per build
Post-curing electricity: $0.30 per build
Active technician time: 18 minutes
Hypothetical loaded labor rate: $24/hour
Printer and post-processing equipment allocation: $6.50 per build
Maintenance allocation: $1.50 per build
First calculate material consumption:
140 mL + 18 mL + 10 mL = 168 mL
At the hypothetical resin price of $110/L:
168 mL × $0.11/mL = $18.48
Now calculate labor:
18 ÷ 60 × $24 = $7.20
Total production cost for the build:
$18.48 material
- $3.20 washing and processing consumables
- $0.30 post-curing electricity
- $7.20 labor
- $6.50 equipment allocation
- $1.50 maintenance
= $37.18 total build cost
If all eight models are accepted:
$37.18 ÷ 8 = $4.65 per usable model
Now assume one model does not pass inspection, leaving seven accepted models.
The calculation becomes:
$37.18 ÷ 7 = $5.31 per usable model
Now compare this with calculating only the resin contained in the eight model bodies:
140 mL × $0.11 ÷ 8 = $1.93 per model
The $1.93 figure describes only the hypothetical resin contained in the model bodies. It does not represent the true production cost of a usable dental model.
This is why resin volume × resin price is not a complete cost-per-model calculation.
Why more models per build do not reduce cost linearly
Putting more models on one build plate can spread labor and equipment allocation over more parts, but the savings are not always proportional.
Printing orientation can change build height, support requirements, resin consumption, printing time and the number of models that fit on a platform.
A 2024 systematic review of dental-model research found that horizontal printing was generally efficient for individual or smaller-volume model production, while vertical orientation could allow roughly two to three times as many models on the platform in some high-volume scenarios. The review also found that the result depends on printing technology, material, layer thickness and other workflow variables.
Another 2024 orthodontic-model study demonstrated the same trade-off in a specific DLP workflow: changing model design and print angle substantially changed resin consumption, printing time and the number of models that could fit on a platform. The authors also cautioned that their results were printer-specific and should not automatically be applied to every 3D printing system.
Research on other dental applications likewise shows that build orientation can affect both material consumption and printing time.
So a dental lab should not optimize cost only for the highest possible model count per build.
A denser build can also change:
- model orientation
- support consumption
- build height
- print duration
- post-processing workload
- consequences of a failed build
- turnaround time
The more useful production metric is:
Total production cost ÷ accepted models
Track this figure across real builds. Over time, it provides a much stronger basis for comparing build layouts, model types, resin use and production strategies than resin volume alone.