Is a 14K Dental 3D Printer Better Than an 8K Printer? When Higher Resolution Matters—and When It Doesn’t
Not necessarily. A higher LCD pixel count does not by itself prove that a dental 3D printer will produce more accurate dental models.
A “14K” label can tell you something useful about the printer’s imaging hardware. It does not tell you, on its own, how closely a finished dental arch will match the original STL after printing, washing, drying, support removal and UV post-curing.
That distinction matters because screen resolution and dimensional accuracy are not the same specification.
For a dental laboratory comparing an 8K and a 14K printer, the better question is not simply:
“Which printer has more pixels?”
It is:
“Which complete printing workflow can reproduce my dental geometry accurately and repeatedly?”
That changes the comparison considerably.
What Does 8K or 14K Actually Describe?
On an LCD resin printer, the LCD acts as a mask that controls where light reaches the photopolymer resin during each layer exposure. The screen contains a fixed number of pixels, and labels such as 8K or 14K generally refer to the panel’s pixel-resolution class.
A printer may therefore advertise numbers such as 7680 × 4320 pixels or 13320 × 5120 pixels.
Those numbers describe the imaging panel. They are not a measurement of the dimensional error of a printed dental model.
Research on masked stereolithography similarly identifies LCD pixel size as an important limit on the imaging system’s ability to reproduce fine features, while also noting that actual manufacturable feature size depends on factors including resin properties, optical behavior and exposure.
This is the first distinction to keep clear:
Screen resolution = how the exposure image is digitally divided.
Print accuracy = how closely the complete manufactured object corresponds to the intended geometry.
They are related, but they are not interchangeable.
Pixel Count Is Not the Same as Pixel Size
The “K” number becomes even less informative when printers have different build areas.
Imagine two LCD systems with the same number of pixels.
If one distributes those pixels across a smaller physical exposure area, each pixel can represent a smaller area of the resin surface. If another uses the same number of pixels across a larger build area, the effective pixel pitch will be larger.
In simplified terms:
Pixel size ≈ physical exposure dimension ÷ number of pixels along that axis
This is why comparing only “8K,” “12K” or “14K” without looking at the physical imaging area can be misleading.
The current minidimu specifications illustrate the point. The Eternal D1 is listed with a 10.1-inch 14K monochrome LCD at 13320 × 5120 pixels and a 223 × 126 mm XY build area. Its published XY display values are X 16.8 μm and Y 24.8 μm. The Eternal Y8 is listed with an 8K 7680 × 4320 LCD and a 228 × 128 mm build area.
Those specifications describe the imaging geometry of the machines. They should not be converted directly into claims about finished dental-model accuracy. In fact, the D1 technical page specifically states that its listed XY display value should not be presented as guaranteed finished-part dimensional accuracy.
That is an important technical distinction.
Screen Resolution, XY Resolution and Layer Height Are Different Things
Several specifications are often grouped together in printer marketing even though they describe different parts of the process.
Screen resolution describes the pixel dimensions of the LCD panel.
Pixel count is the total or axis-specific number of pixels available in that panel.
Pixel size or pixel pitch describes the physical area represented by an imaging pixel at the printing plane.
XY resolution is commonly used to describe the lateral imaging capability of the system, although manufacturers may calculate or define this value differently.
Layer height describes the nominal increment in the Z direction between printed layers.
A printer with a very small XY pixel size does not automatically have equally small dimensional error in X, Y and Z.
Likewise, reducing layer height does not automatically make every dental model more accurate. A systematic review of dental restorations found that both printing orientation and layer thickness can influence dimensional accuracy, but the evidence did not support one universally optimal combination for all cases.
The specification sheet therefore describes only part of the manufacturing system.
Accuracy Is Not Another Word for Resolution
The terminology becomes especially important when discussing dental models.
ISO 5725 distinguishes trueness and precision when evaluating accuracy. Trueness concerns how closely results correspond to the reference or accepted value, while precision concerns how closely repeated results agree with one another.
For dental 3D printing, this gives us three useful questions.
A printer may reproduce very small visible details yet still produce a dimensional bias in an arch.
It may produce one model that measures very close to the CAD file but fail to reproduce the same result consistently across repeated builds.
Or it may produce highly repeatable models that are all shifted slightly away from the intended geometry.
That is why does screen resolution determine dental print accuracy? has a straightforward answer:
No. Screen resolution contributes to imaging capability, but dental print accuracy must be evaluated from the manufactured result.
Dental research routinely evaluates printed models using trueness and precision rather than screen pixel count alone. Studies have also found differences in accuracy between printer technologies, model designs and workflows.
When Higher Screen Resolution Does Matter
None of this means higher LCD resolution is meaningless.
A smaller effective pixel size can be valuable when the intended application contains small features, fine edges, narrow recesses or surface geometry that approaches the imaging limits of the printer.
A useful way to evaluate a high-resolution imaging system is to ask:
1. Can the imaging system reproduce small features?
Here, screen resolution, pixel size, optical focus and image formation matter.
If a feature is too small for the exposure system to represent effectively, no amount of downstream calibration can recreate information that was never properly imaged.
This is where a higher-resolution LCD can provide a genuine technical advantage.
But passing this first test does not establish finished-part accuracy.
The Second Level: Can the Complete Printer Reproduce Geometry Accurately?
After the exposure image is generated, several other systems begin to influence the result.
These include:
- optical calibration
- light distribution and uniformity
- exposure settings
- resin formulation and polymerization behavior
- Z-axis mechanics
- model orientation
- support placement
- layer thickness
- model geometry
Orientation alone has been shown to affect trueness and precision in printed dental models, while systematic reviews have identified orientation and layer parameters as relevant accuracy variables.
Resin behavior matters as well. Photopolymerization does not simply turn a perfect digital pixel into a dimensionally perfect solid voxel. Light propagation, polymerization depth, resin chemistry and shrinkage can all affect how the intended geometry becomes a physical part.
This is why a nominal 20 μm-class imaging value should not be interpreted as “the printer is accurate to 20 μm.”
They are different measurements.
The Third Level: Can the Workflow Repeat the Result After Post-Processing?
For a dental laboratory, the printed object leaving the build platform is not normally the finished object being evaluated.
It still has to move through the post-processing workflow.
Depending on the documented material process, that can include washing, drying, support removal and UV post-curing.
These stages can affect dimensional results.
A systematic review of dental photopolymers found that post-processing conditions, including washing outside prescribed instructions, can influence material performance. Other dental studies have shown that curing conditions and curing equipment can influence dimensional behavior.
The same principle is reflected in minidimu’s current sample-evaluation workflow: model geometry, orientation, supports, resin behavior, washing, drying and UV post-curing are all treated as variables that may influence the finished sample.
So the final question is not simply whether the printer can expose a fine pixel.
It is whether the laboratory can repeatedly obtain the required geometry after the complete process has finished.
How Should a Dental Lab Compare an 8K and a 14K Printer?
Specification sheets are useful for narrowing the shortlist. They should not be the final acceptance test.
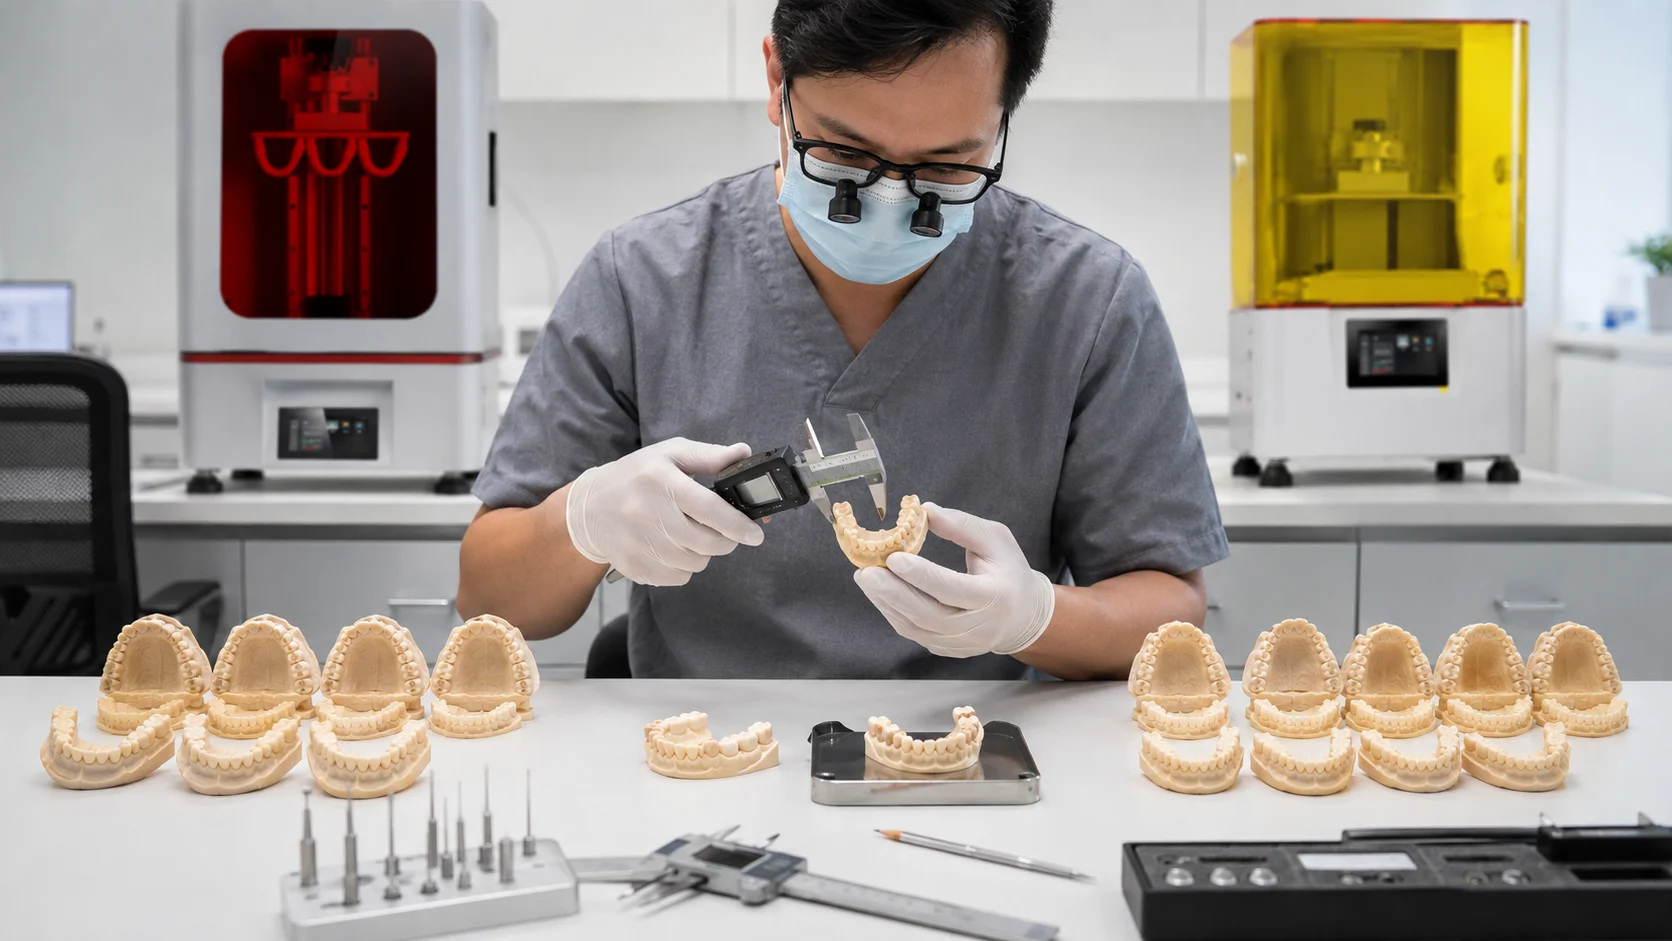
If two printers are being considered for the same application, use the same representative STL whenever possible.
Do not send an easy demonstration model if your real production consists of full-arch dental models with specific fit or dimensional requirements.
Ask the supplier to produce representative samples and evaluate:
Critical dimensions
Identify dimensions that matter to the actual workflow rather than measuring arbitrary areas simply because they are easy to reach with a caliper.
Fit
Where the application involves mating parts, dies, removable components or another controlled fit relationship, evaluate the relevant interface.
Surface detail
Check whether fine margins, grooves, recessed structures and other relevant features are adequately reproduced.
Repeatability
One successful model proves relatively little about production consistency. Compare multiple prints, preferably across separate builds where practical.
Post-cure dimensional stability
Measure the model at the stage at which it will actually be used. A green-state or freshly washed model is not necessarily representative of the final post-cured result.
For more demanding comparisons, scanned printed models can be aligned against the reference digital geometry to examine deviations across the complete arch rather than relying only on a few manual measurements.
Most importantly, define the acceptance method before testing.
“Looks sharper” and “has more pixels” are not substitutes for an application-specific evaluation.
The American Dental Association takes a similar application-first approach to printer selection, advising dental teams to begin by defining what they are trying to accomplish and to consider areas such as the printing technology, materials, platform size and post-processing workflow rather than relying on one machine specification.
So, Is a 14K Dental 3D Printer Better Than an 8K Printer?
It can have a higher-resolution imaging system. That may be useful, particularly when small feature reproduction is important.
But 14K does not automatically mean more accurate dental models.
A more meaningful comparison works through three levels:
- Can the imaging system reproduce the required features?
- Can the complete printer reproduce the intended geometry accurately?
- Can the entire workflow repeat that result after washing, drying and post-curing?
Only the first question can be approached primarily through screen resolution and pixel size.
The second and third require finished-part evidence.
For a dental laboratory, that is the practical dividing line between a useful technical specification and a marketing number taken out of context.
Compare the screen specifications, but make the purchasing decision using your models, your application and measured finished samples.